Starling Dodd, Great Borne & Red Pike - Wednesday 27 February 2019
Route
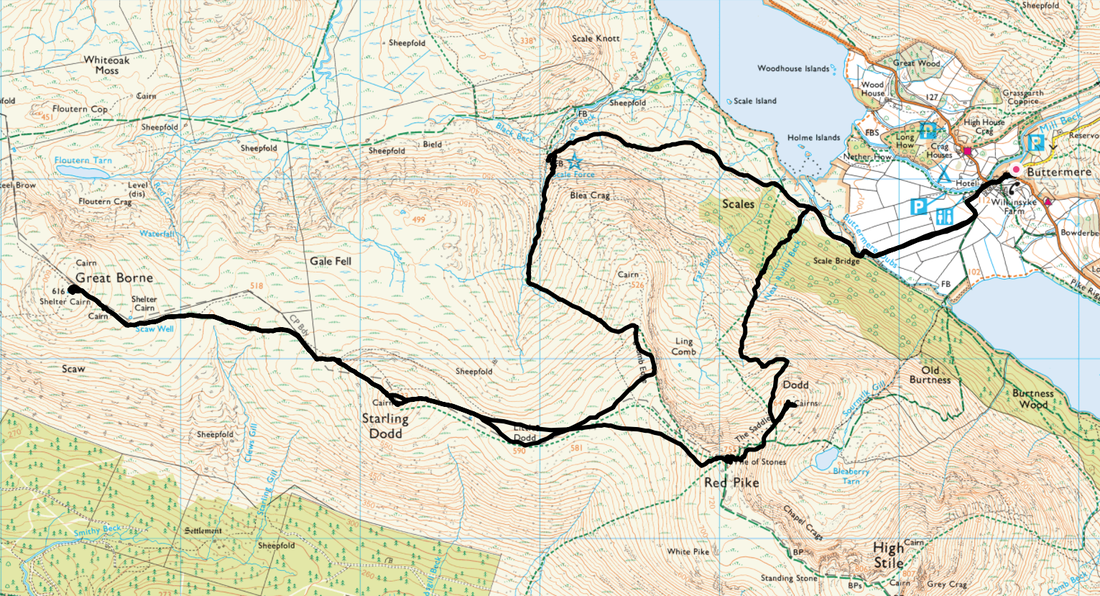
Buttermere - Scale Bridge - Scale Force - Lingcomb Edge - Little Dodd - Starling Dodd - Great Borne - Starling Dodd - Red Pike - The Saddle - Dodd - Ling Comb - Near Ruddy Beck - Scale Bridge - Buttermere
Parking
Above the Church in the village of Buttermere just off the road to Newlands Hause - Grid Ref NY 17647 17050. The nearest postcode is CA13 9UZ.
Mileage
11.1 miles
Terrain
Good mountain paths for the most part with some mild scrambling on a good path up the side of Scale Force. Descending Red Pike to The Saddle is best avoided in icy and snowy conditions unless the right equipment is carried. The descent down Ling Comb is on an intermittent and clearly not often used path but the going is generally pretty good.
Weather
Sunny and mild with light breezes. The visibility was excellent throughout.
Time Taken
6hrs 40mins
Total Ascent
3428ft (1045m)
Wainwrights
3
Map
OL4 The English Lakes (North Western Area)
Walkers
Dave, Angie & Fudge
|
GPX File
|
| ||
If the above GPX file fails to download or presents itself as an XML file once downloaded then please feel free to contact me and I will send you the GPX file via e-mail.
Walk Description
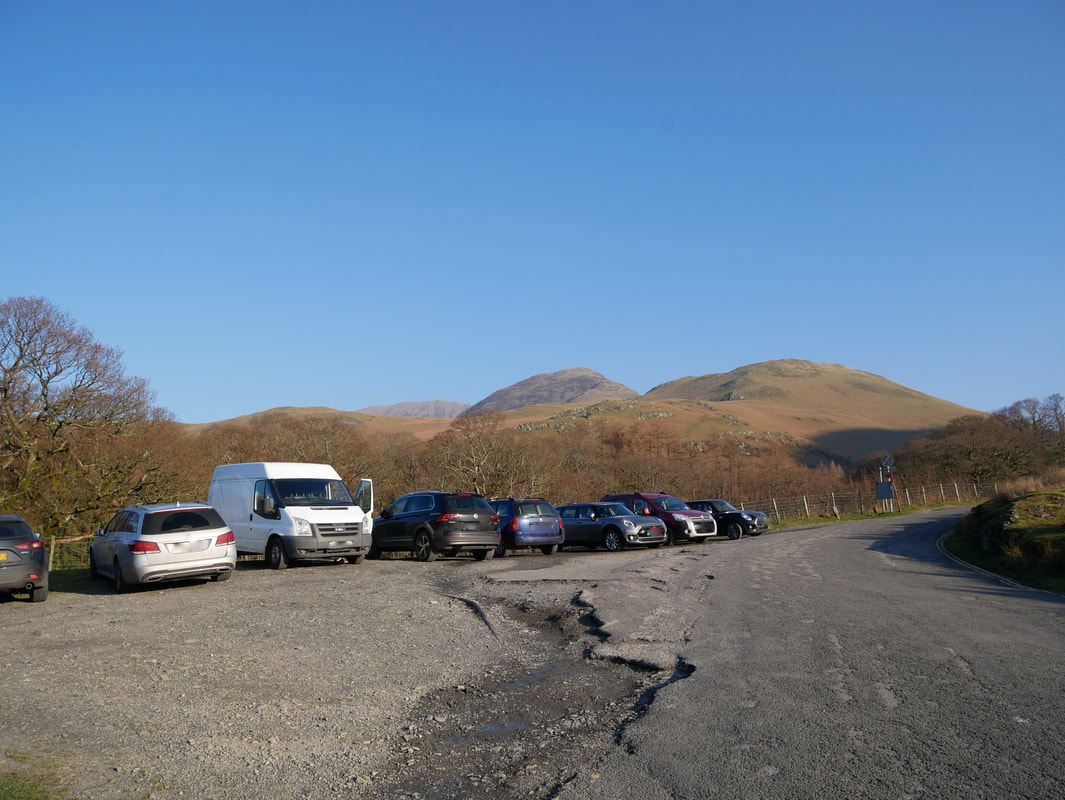
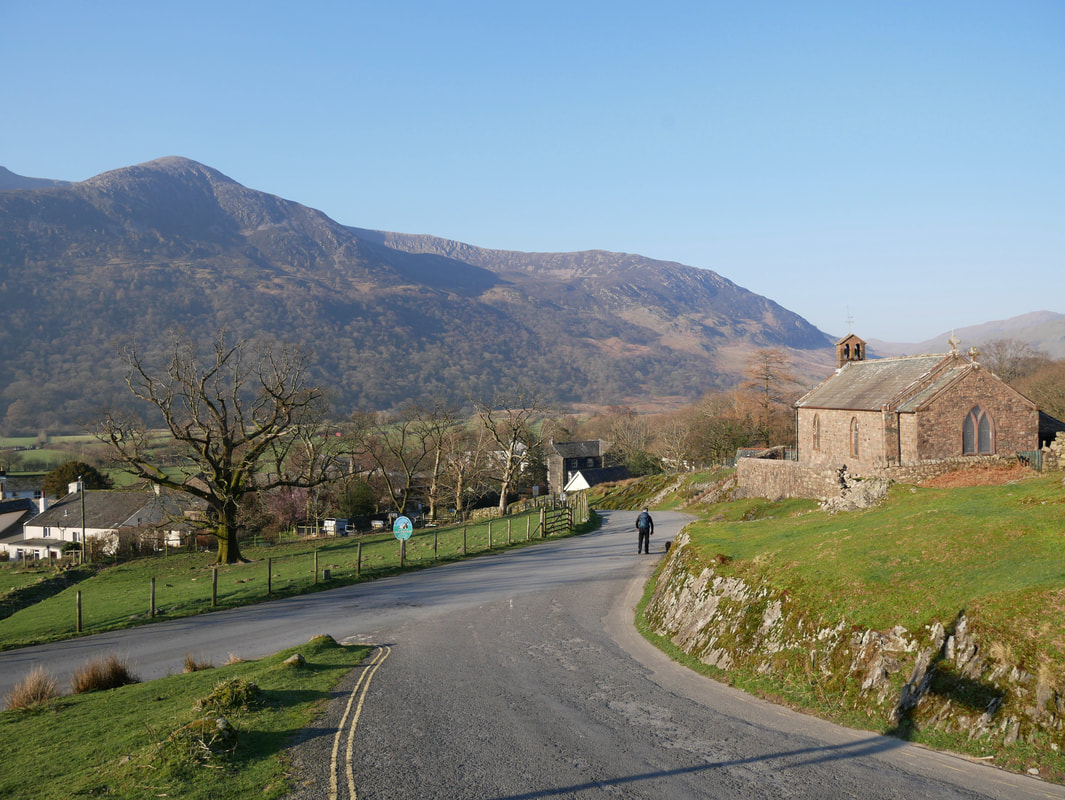
The walk starts from the verge parking area just off the Newlands Hause Road that heads north east out of Buttermere
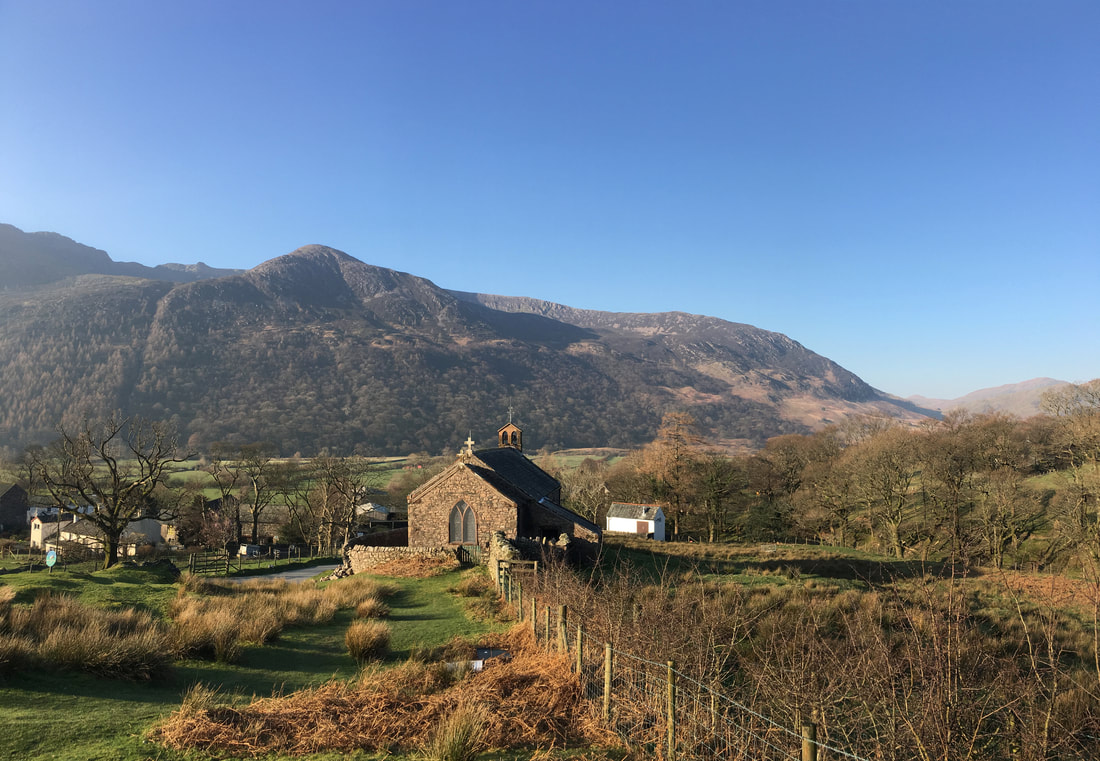
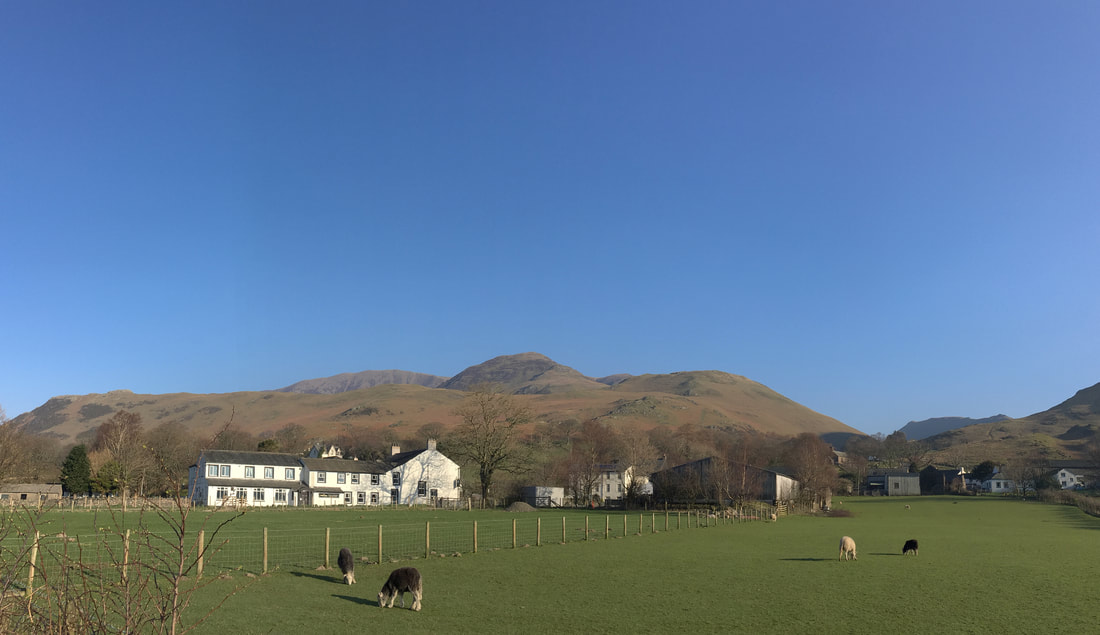
The village of Buttermere from the parking area with St James church in the foreground. The fell to the rear is quite often mistook for Red Pike but is in fact Dodd with Lingcomb Edge to the rear.
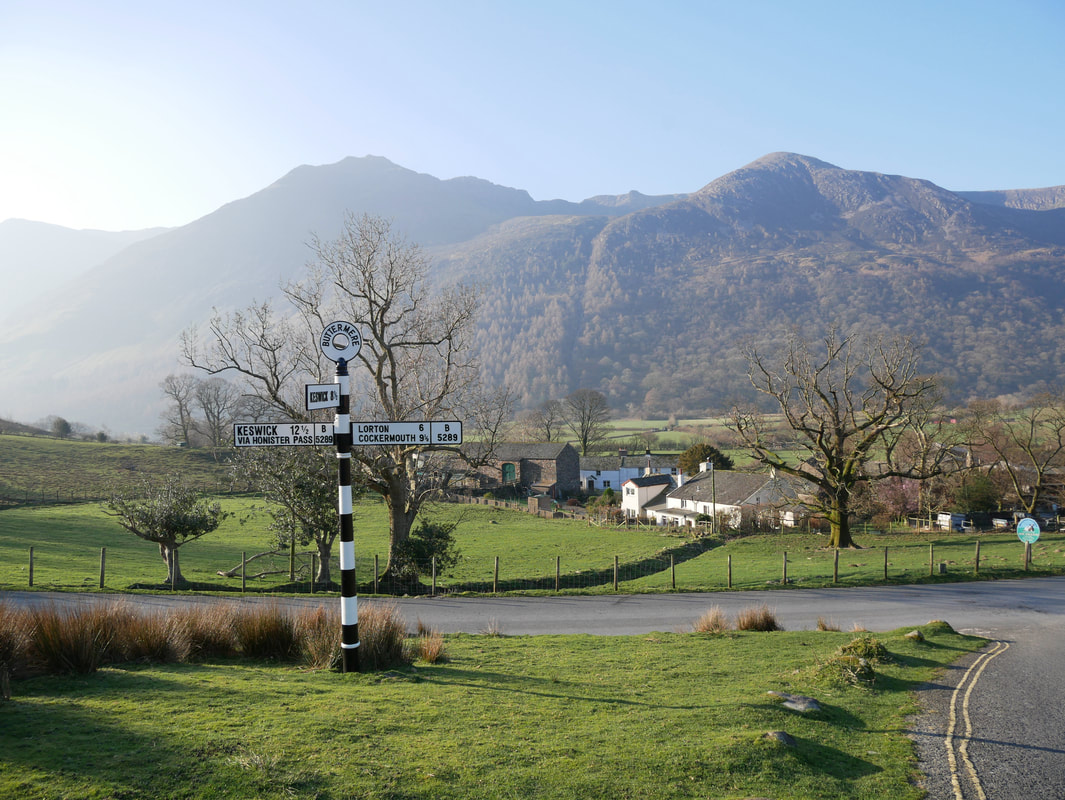
Looking into the sun from the Newlands Hause road to High Stile & Dodd
From the Car Park the route heads into the village but first we were off to visit the church
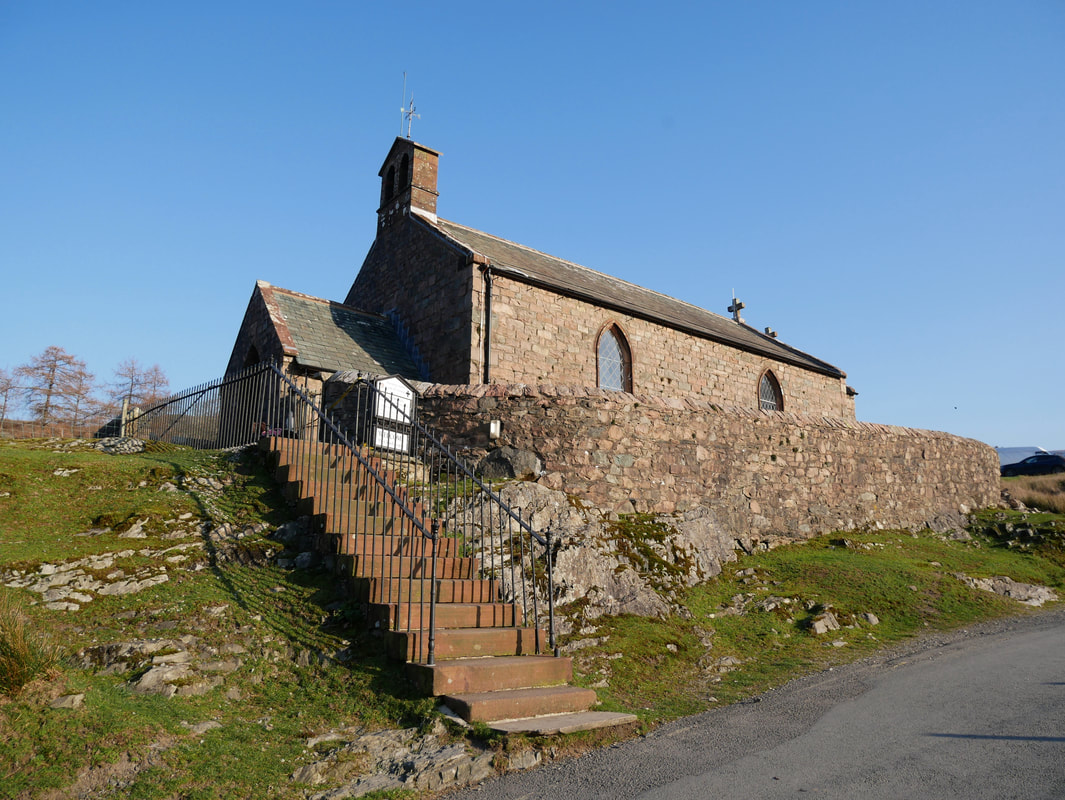
The church is accessed via a set of stone steps
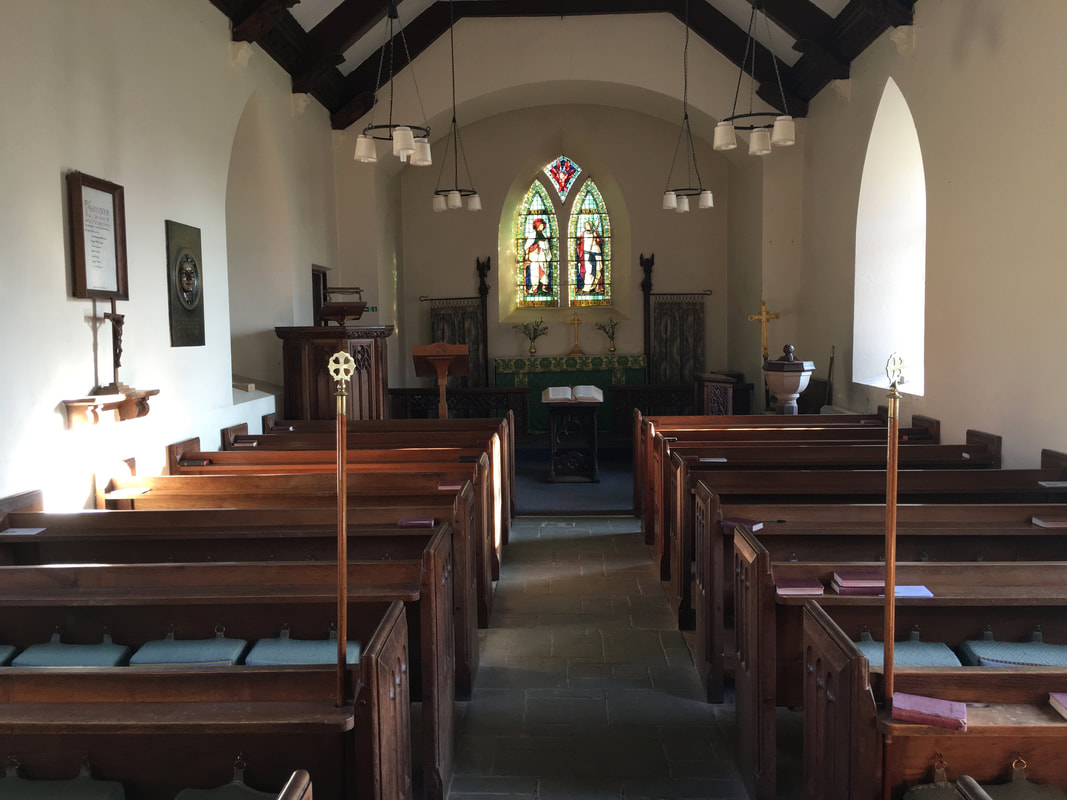
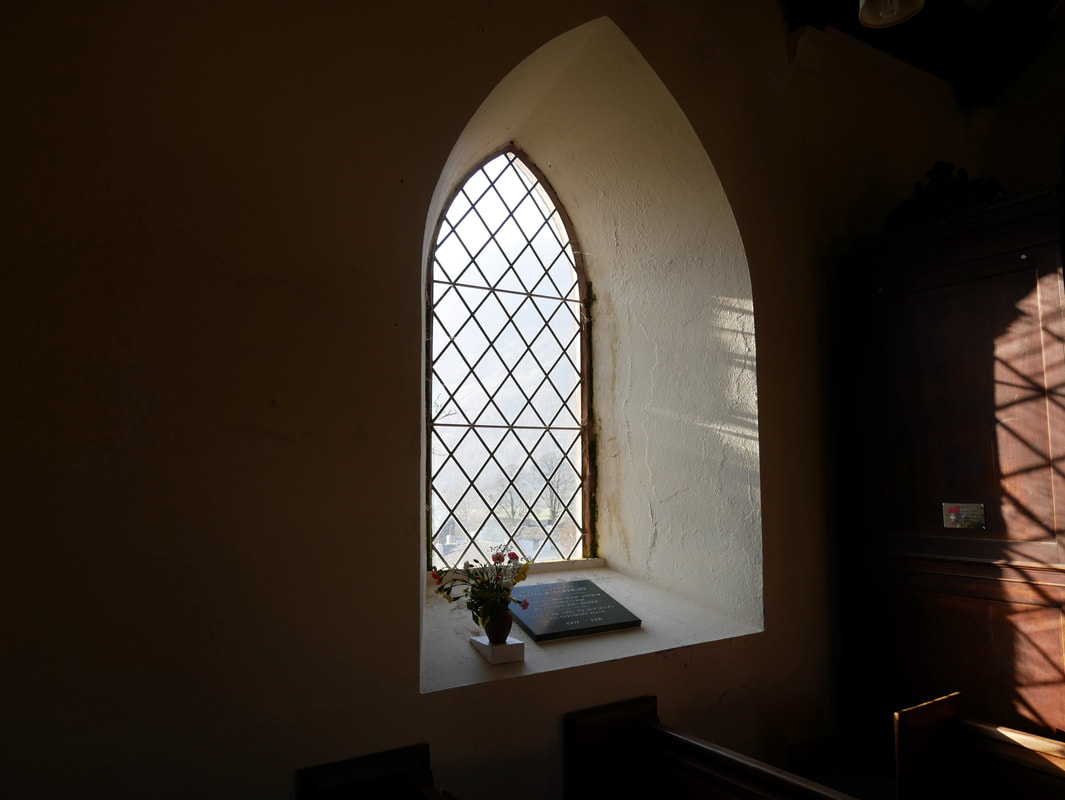
Whilst not deeply religious, the inside of a church is a comforting place where one can feel at peace from the outside world
|
|
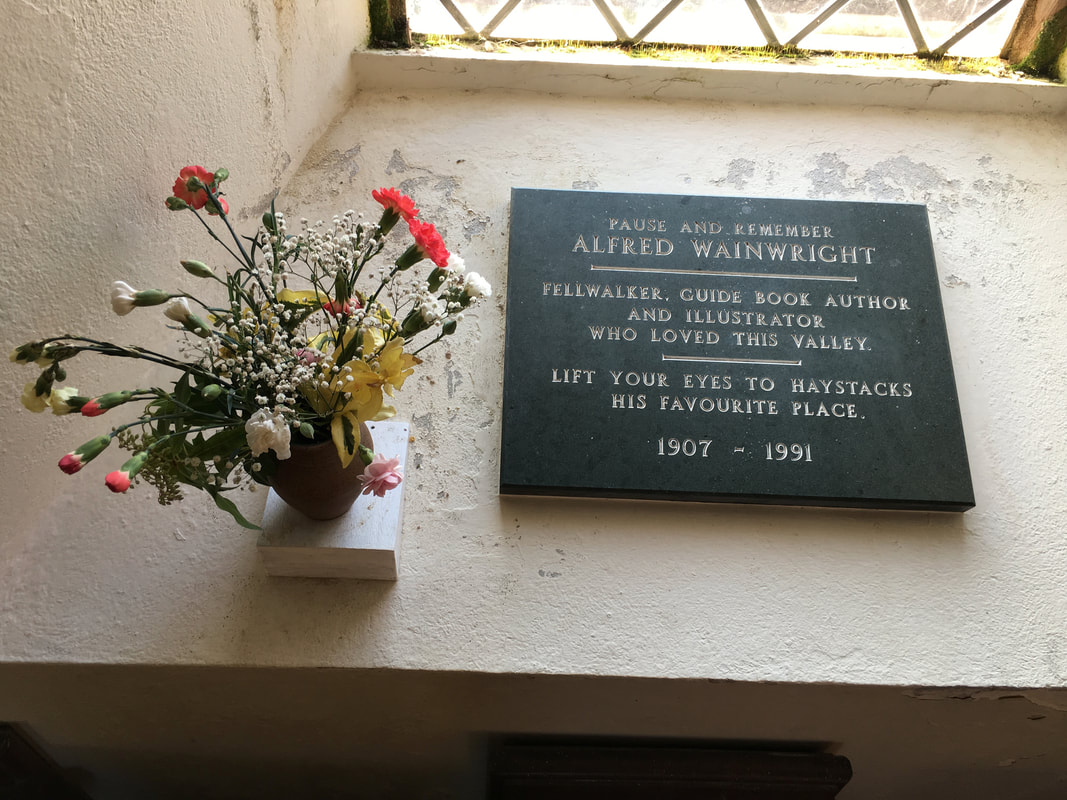
The church houses a memorial to the great man who started it all. Normally through the window you would be able to view Haystacks but not today as the sun was out.
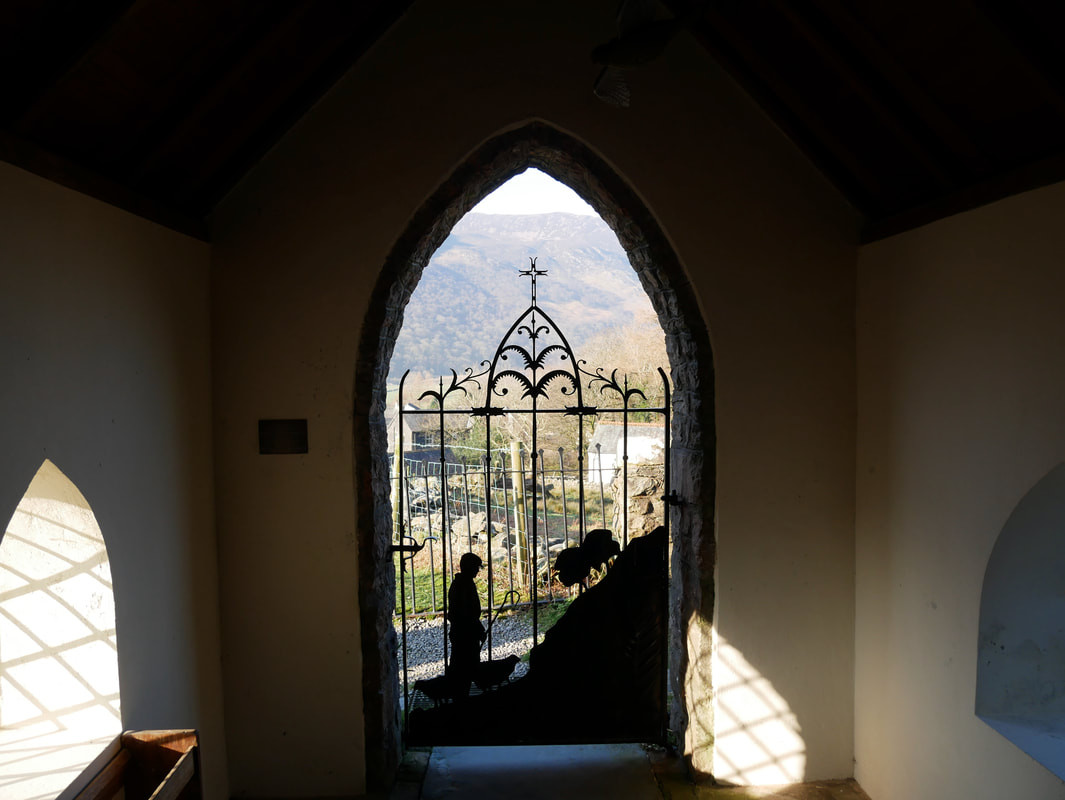
The ornate gateway into the church depicting shepherd & flock
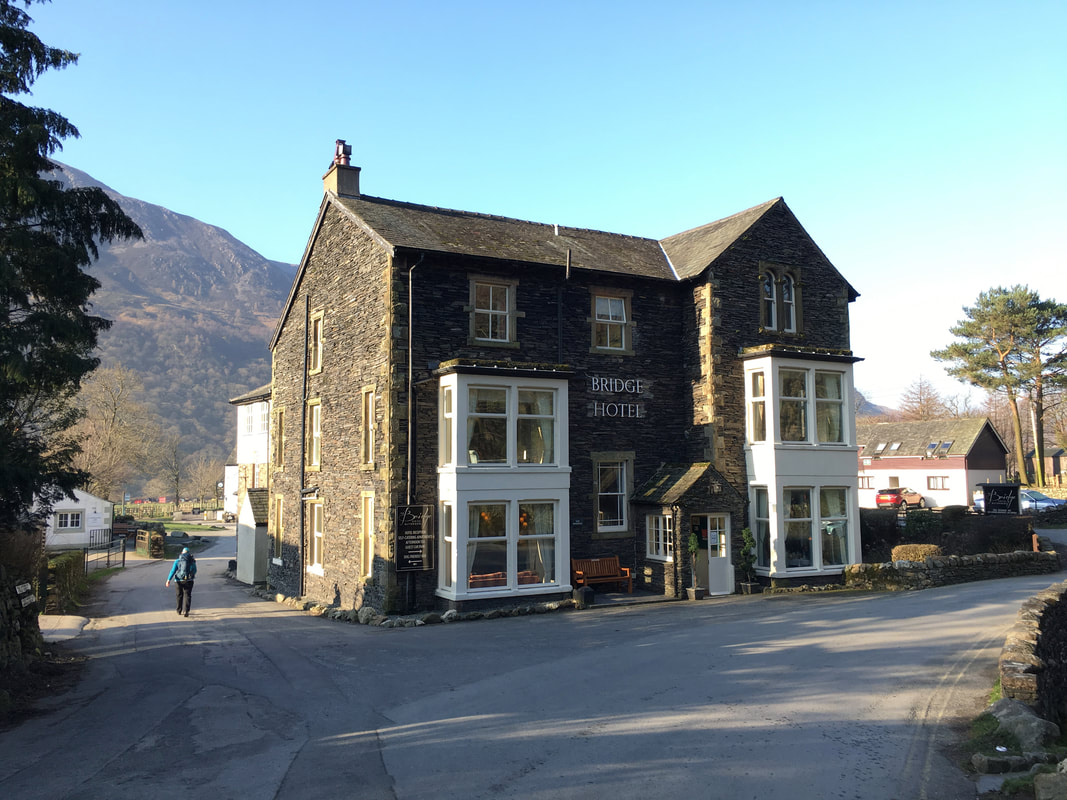
Angie strides out purposefully through a very quiet Buttermere as the route passes to the left of The Bridge Hotel
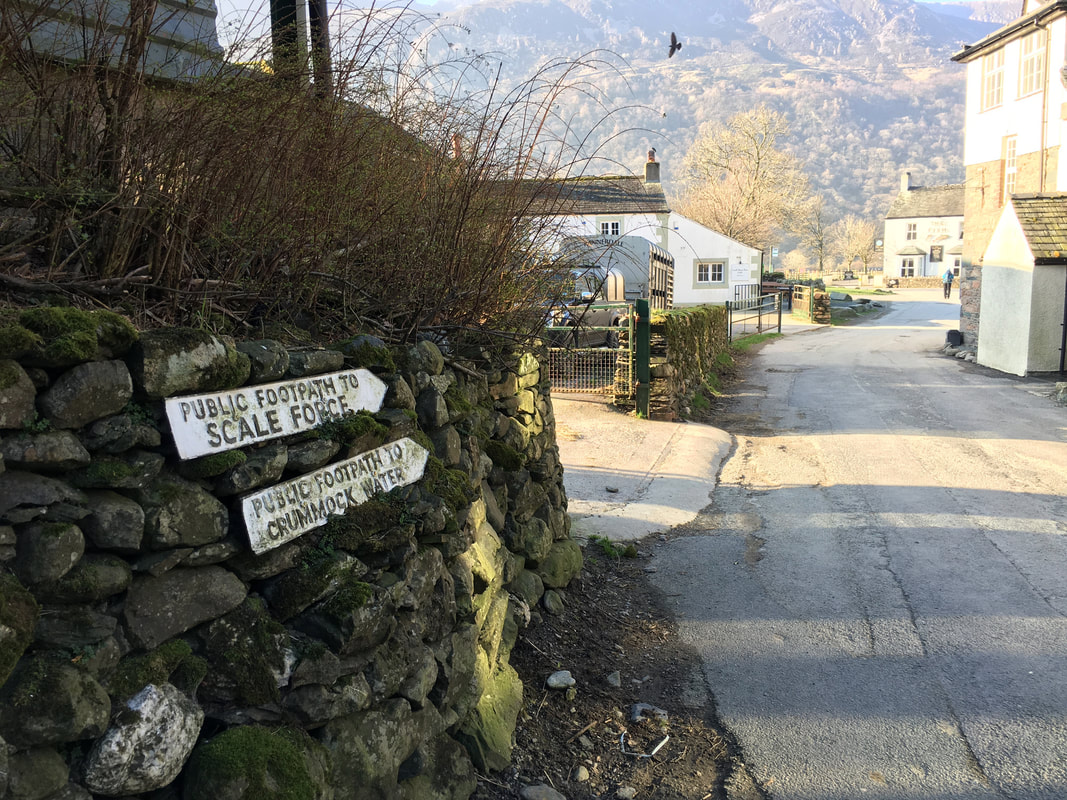
Both signs are followed before the paths split near Crummock Water when our route today would head to Scale Force
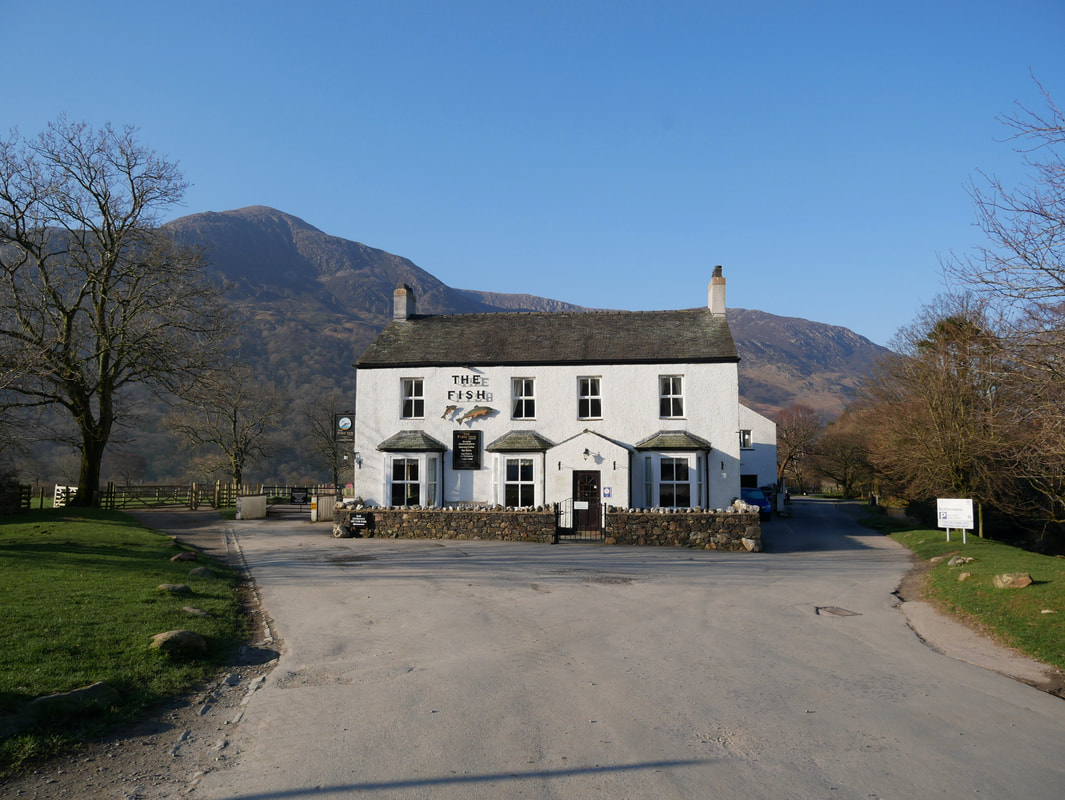
The Fish at Buttermere. This popular watering hole is now called The Buttermere Court Hotel having been bought for £1.35 million smackeroonies in May 2020. The Fish was owned by the same couple for 52 years before being sold.
Looking back over Buttermere to Rannerdale Knotts, Grasmoor & Whiteless Pike
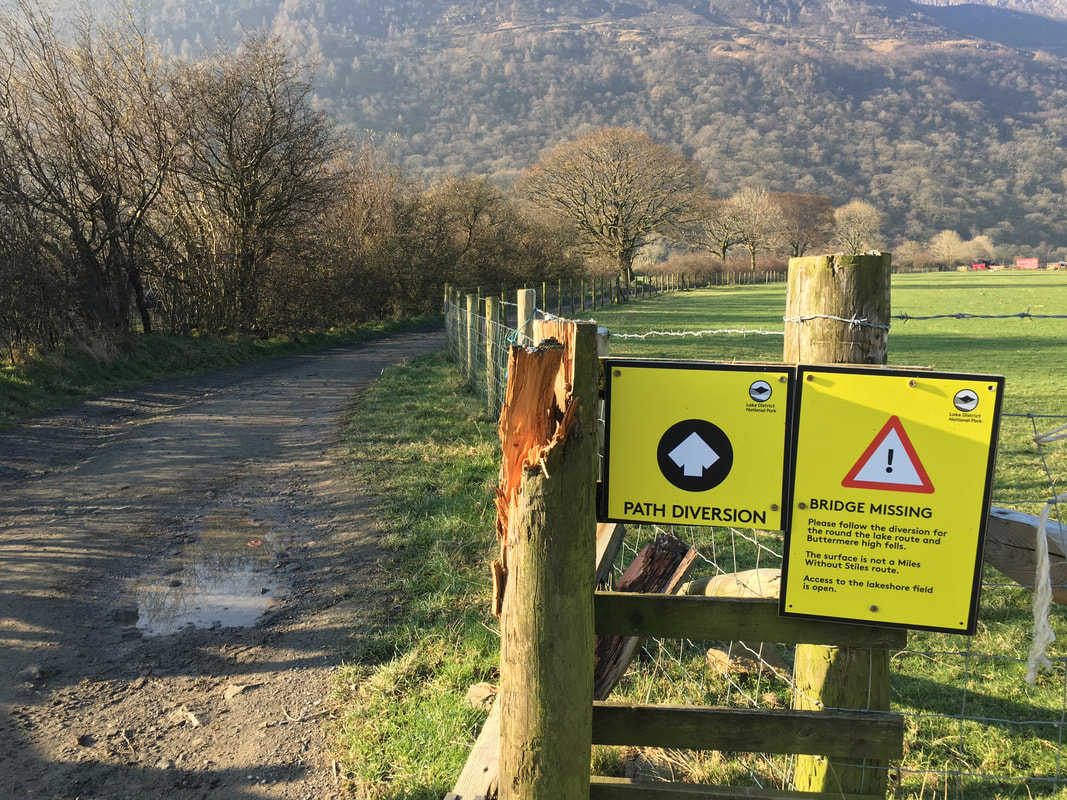
I wonder who nicked it??
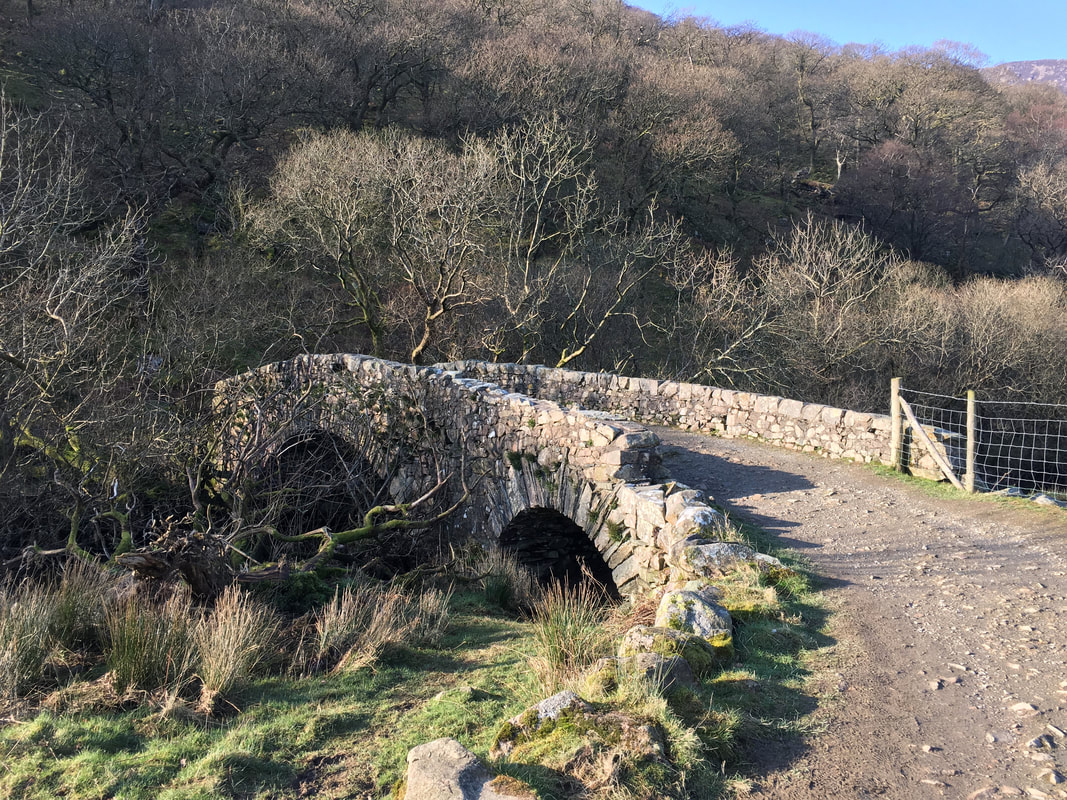
The bridge the previous photo was referring to was clearly not this one but another a little further south east, this bridge being Scale Bridge. The other bridge, which is called Dubs has now been repaired following donations and is once again fully open.
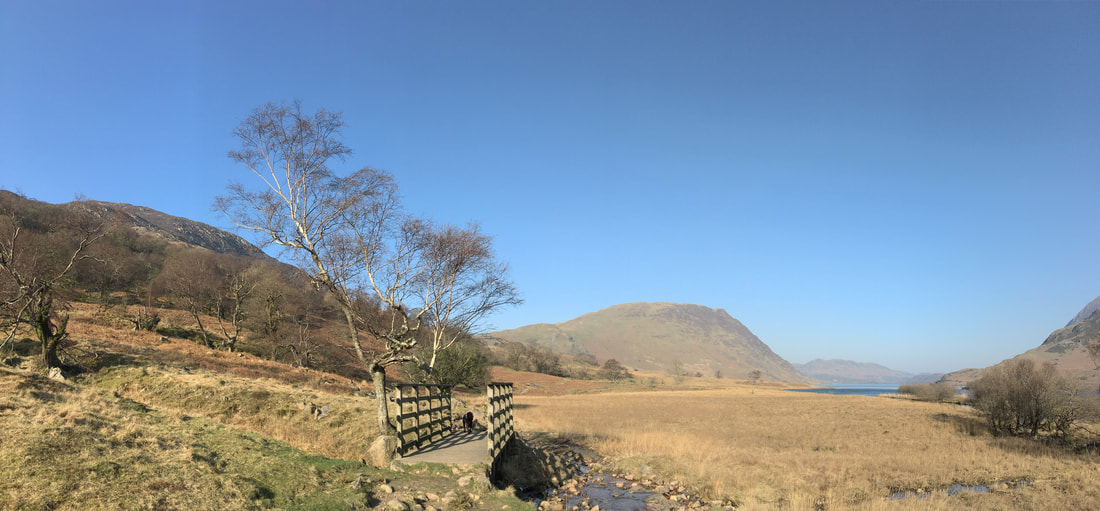
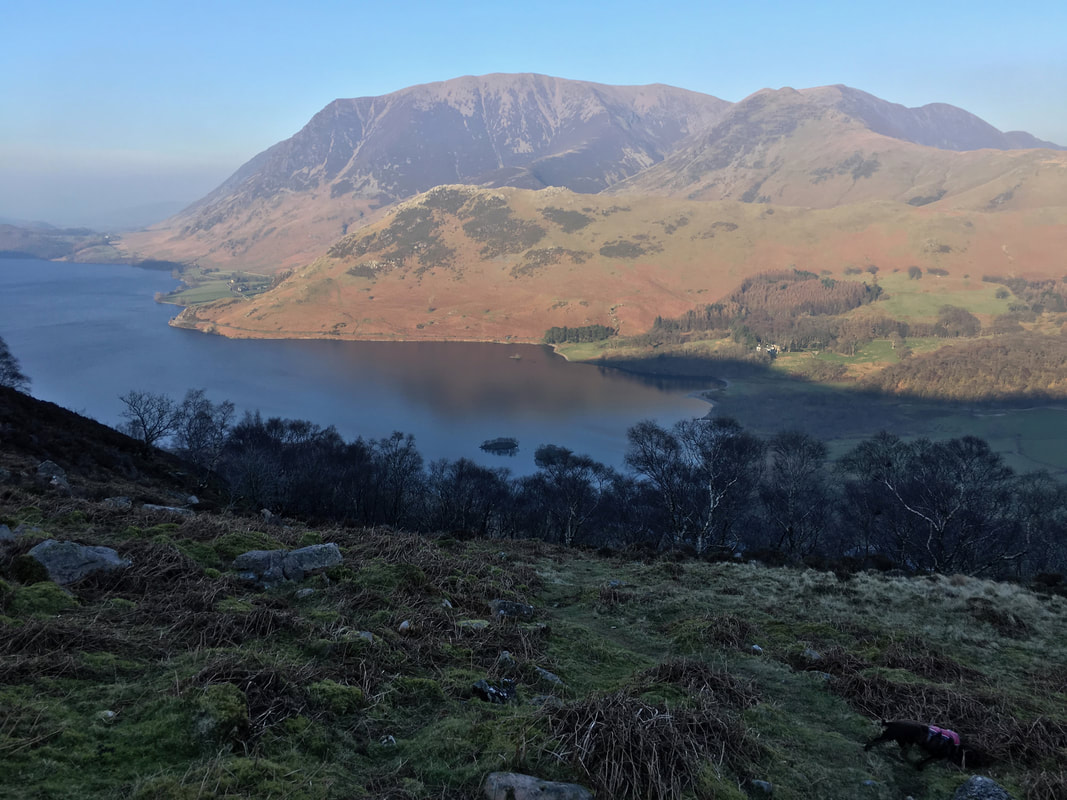
Crossing Near Ruddy Beck heading to Scale Force. Our return route would come in from the left down through Ling Comb - the fell in the centre of shot is Mellbreak.
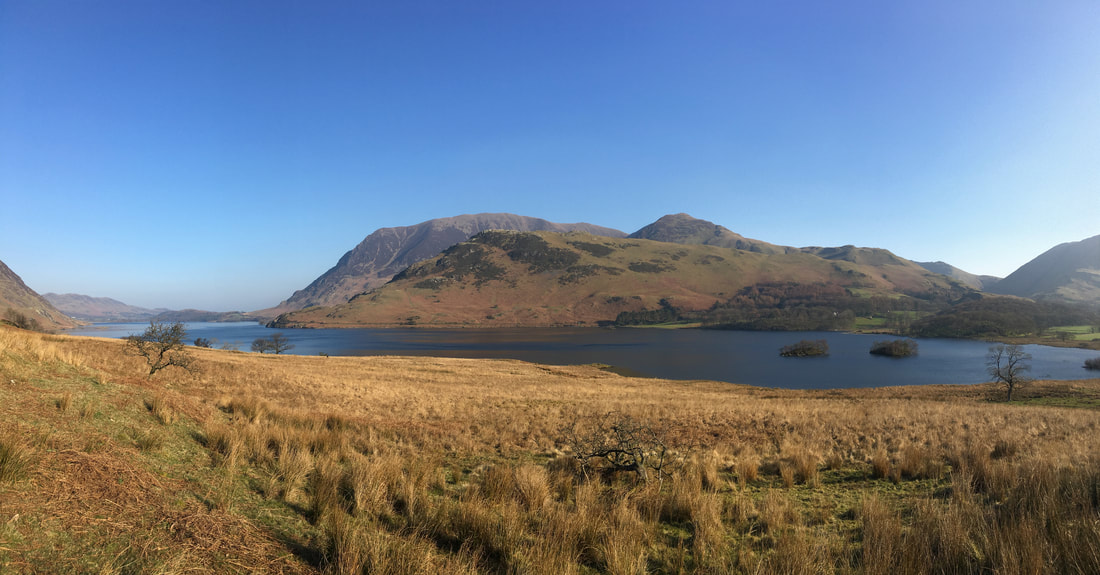
The view across Crummock Water to Grasmoor, Rannerdale Knotts & Whiteless Pike
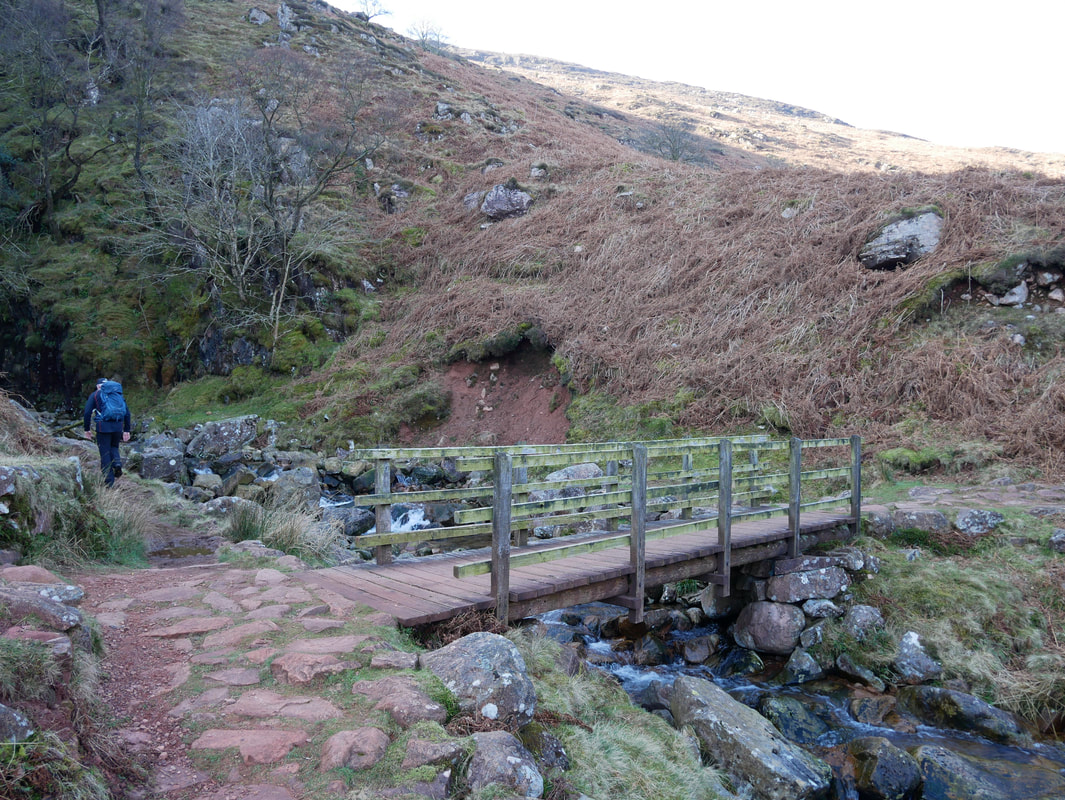
Arriving at Scale Force. The bridge is used to cross over Scale Beck however we would not be using it today as our route would proceed up the eastern side of Scale Force.
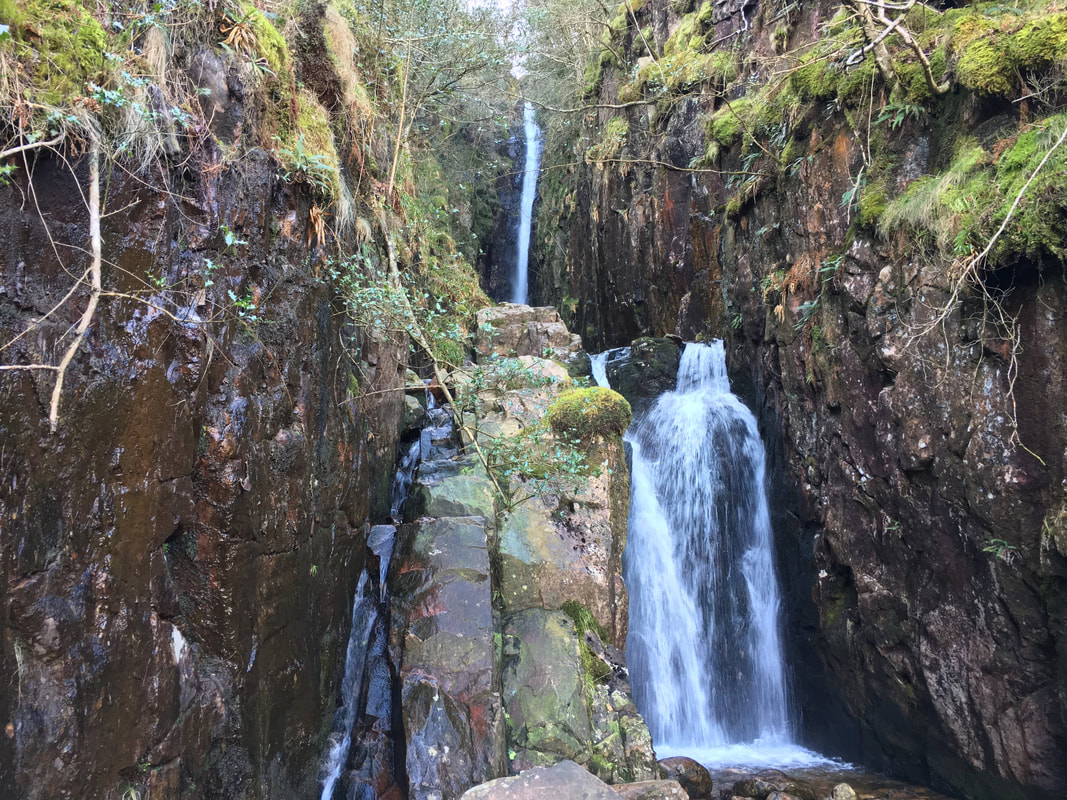
Scale Force - no matter how hard I try, I cannot get a photo good enough to justify what a fantastic sight this is.
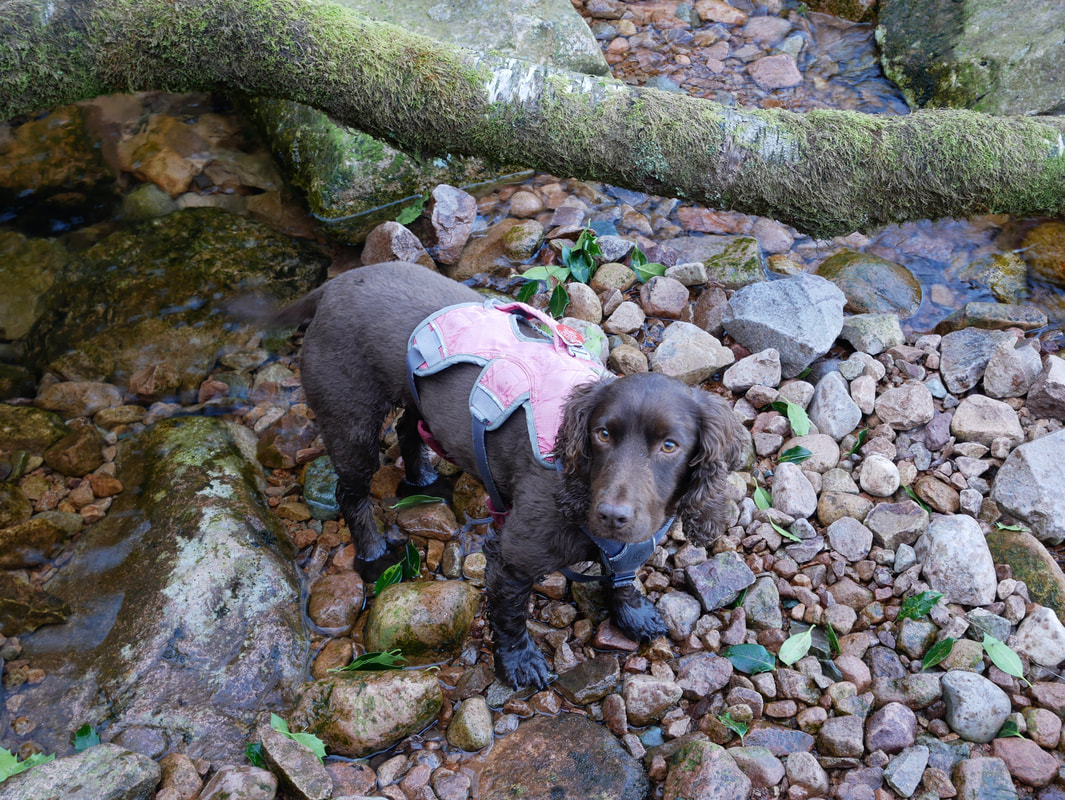
I wonder where you have been eh Fudge??
On the ascent up the eastern side of Scale Force looking down to the footbridge over Scale Beck. Just over the bridge, the path heading to the left leads to Mellbreak and Mosedale with the other path to the right heading to Low Ling Crag & Crummock Water. The path on the extreme right is the one we used coming over from Scale Bridge.
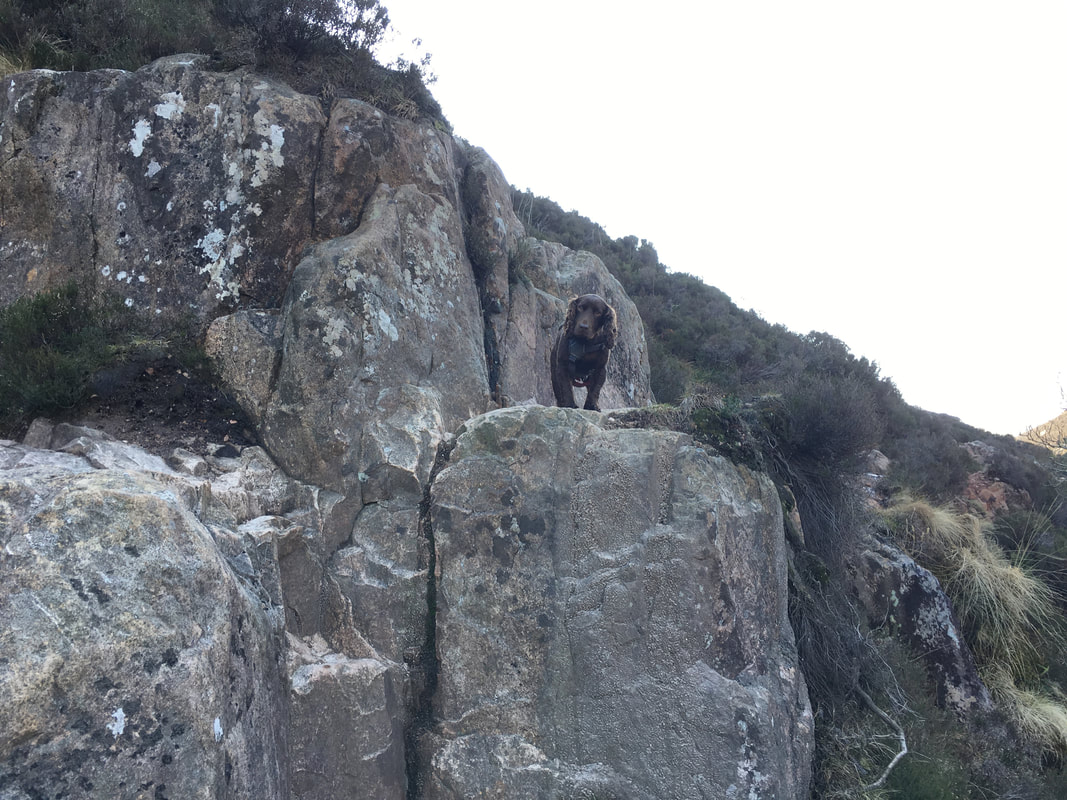
Oh he does love a good scramble & pose does our boy
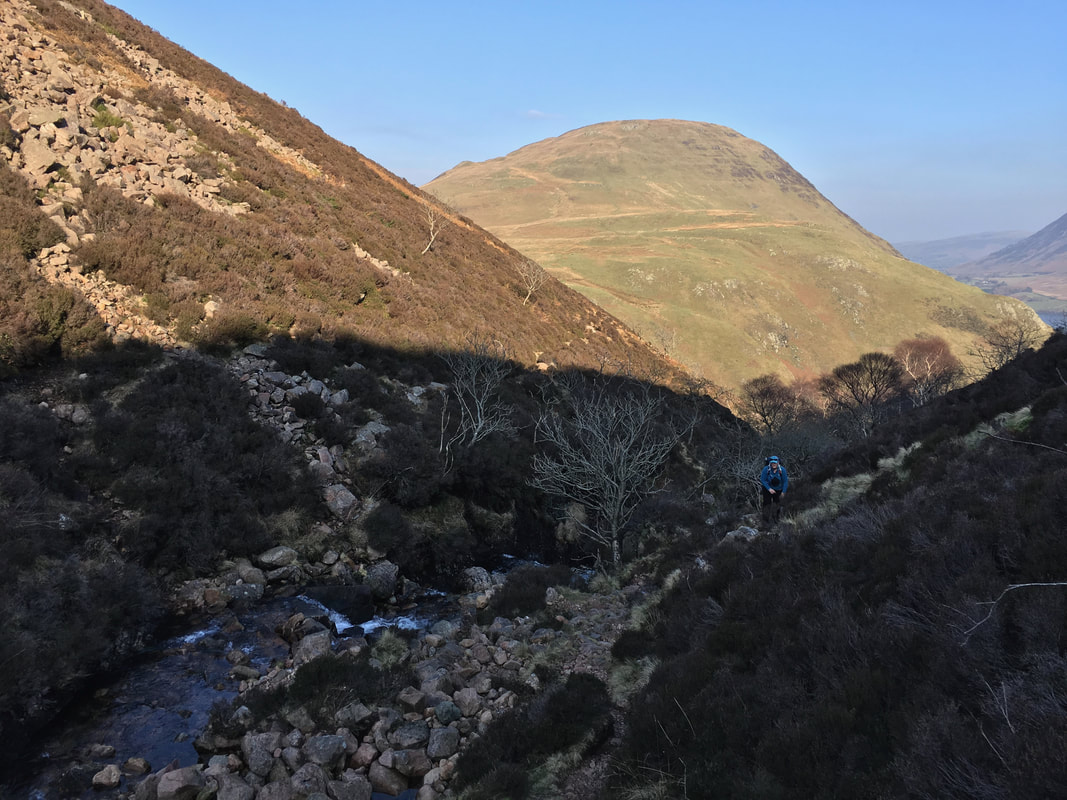
After an initial steep ascent the gradient eased as we climbed the path up Scale Force - Mellbreak's southern top provides the backdrop
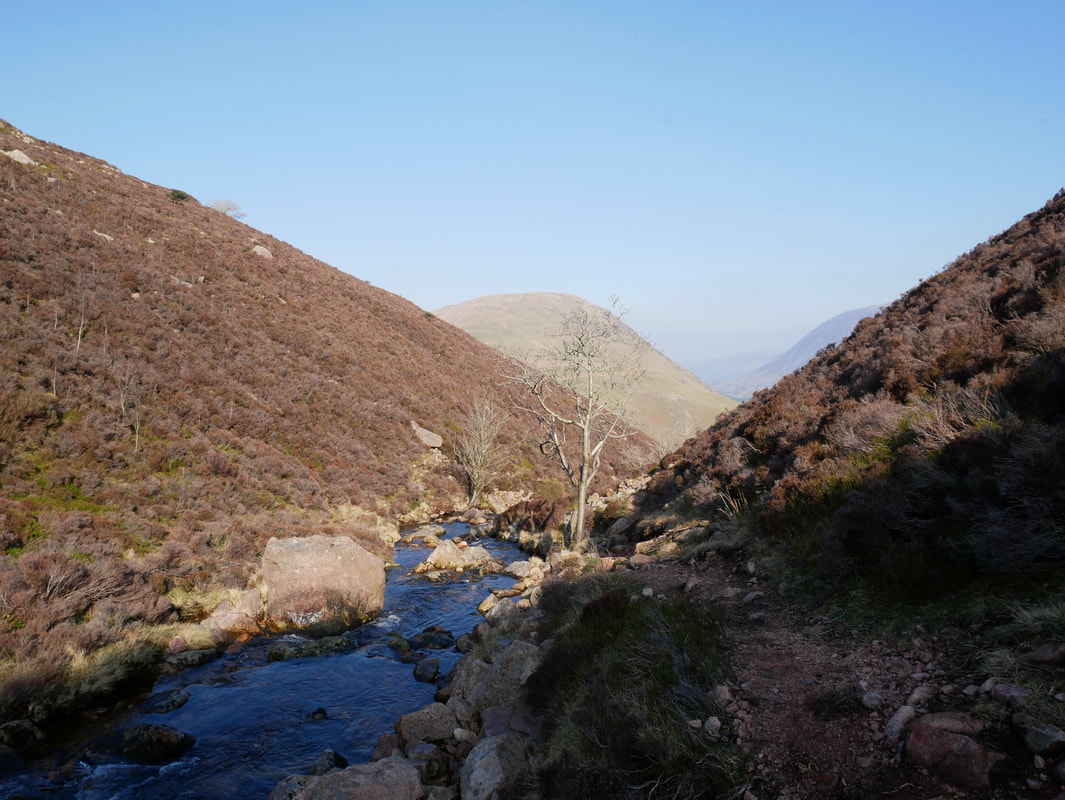
As well as being steep in part and flat in others, the route up the side of Scale Force is still a tricky scramble but great fun
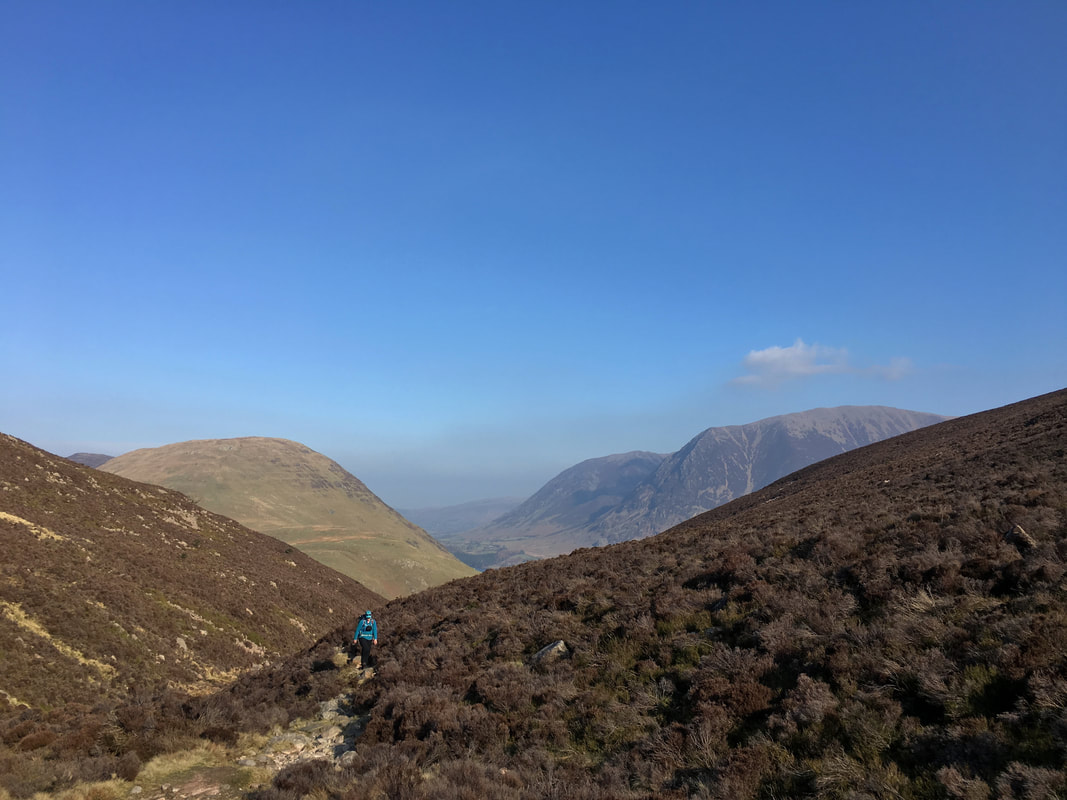
The path emerges from the confines of Scale Beck to reach open fell side with great views over to Mellbreak, Whiteside & Grasmoor
Our first peak of Starling Dodd now appears over to the west
Gale Fell
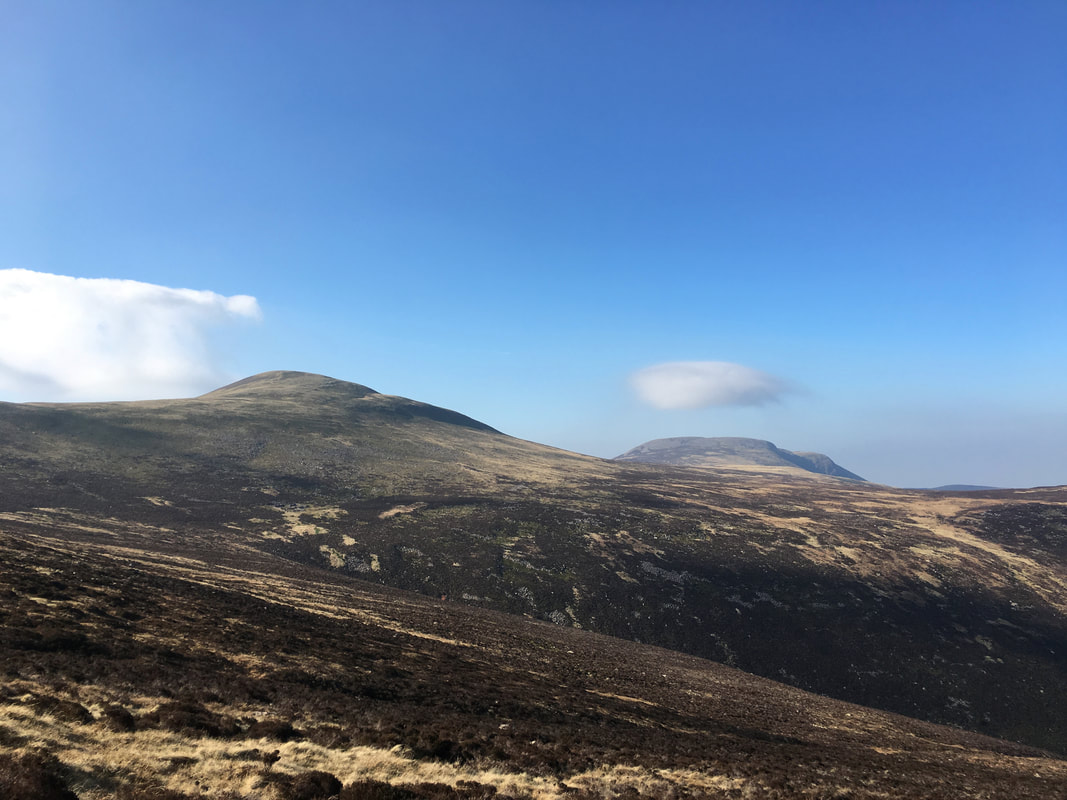
A little higher up and in addition to Starling Dodd we could now see Great Borne & Herdus
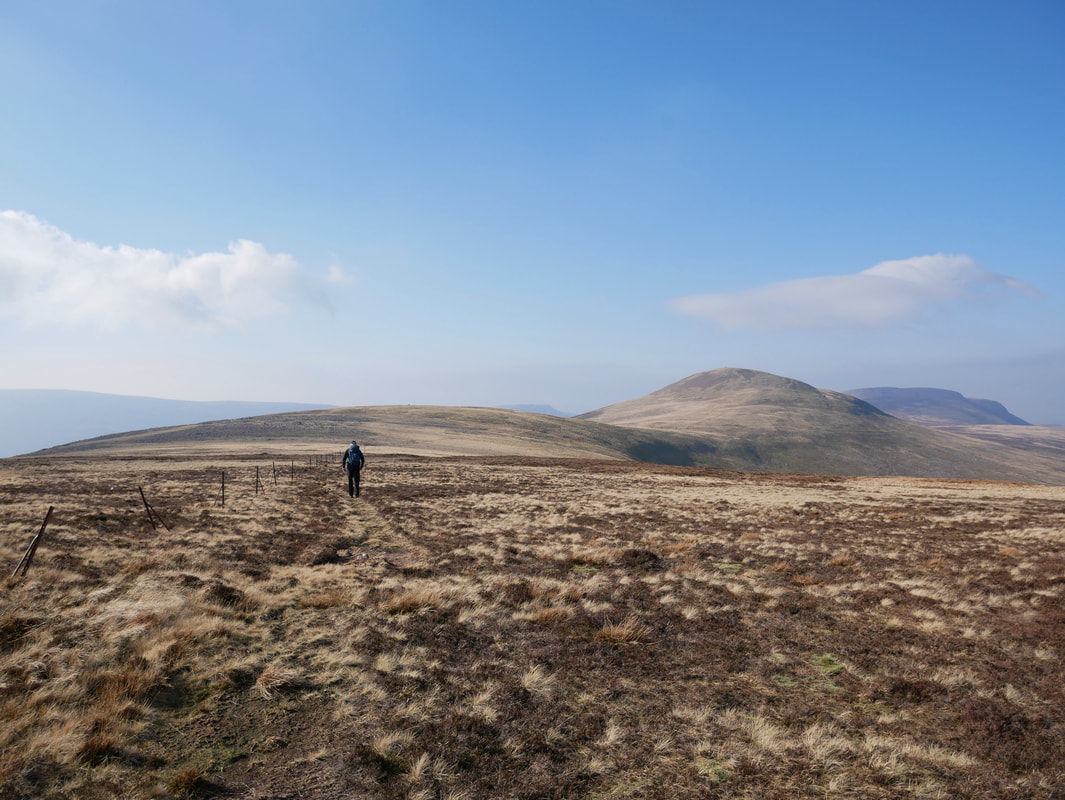
Fudge enjoys one his favourite pastimes of sniffing every inch of the landscape as I head for Starling Dodd.
Looking to Dodd & Red Pike from Lingcomb Edge as we make the turn for Starling Dodd
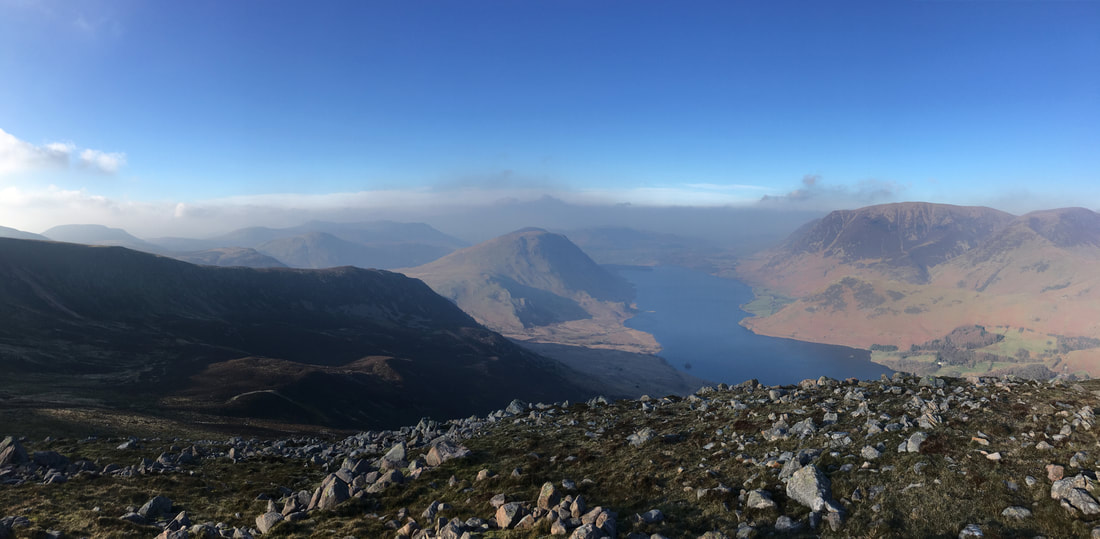
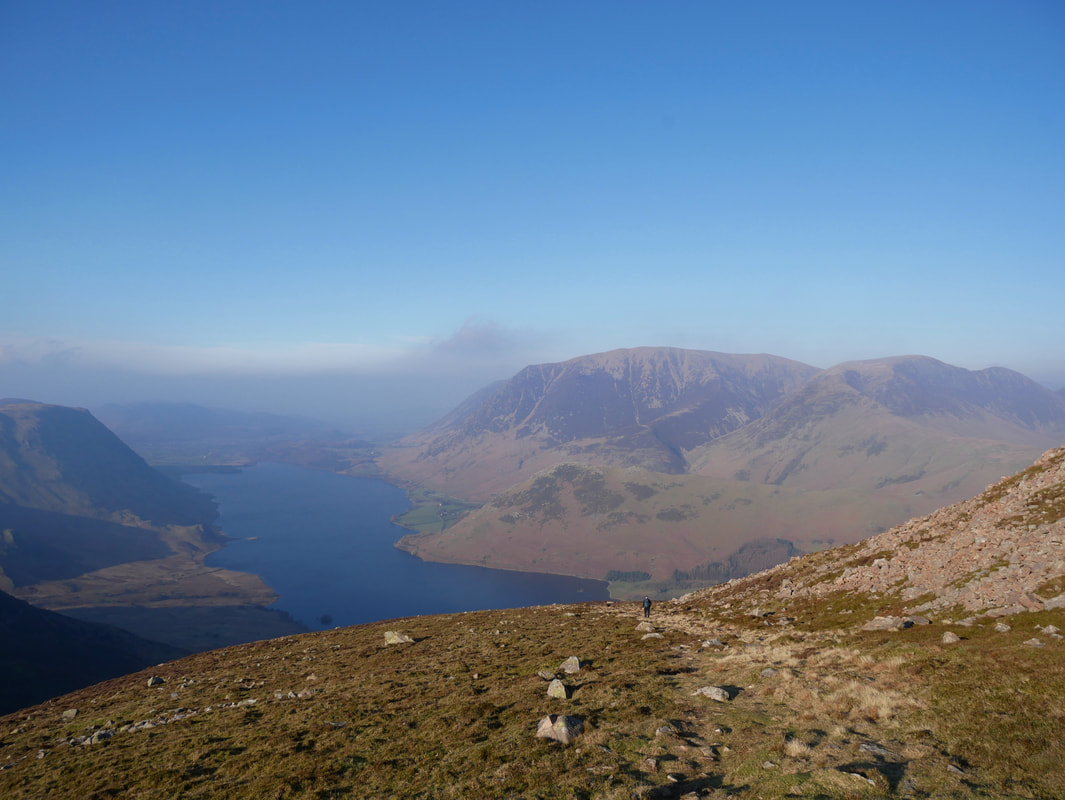
From the transit to Starling Dodd a lovely panorama opens out down Crummock Water. Gale Fell is in the foreground with Mellbreak to the left, Grasmoor centre and the North Western Fells to the right
Heading for Little Dodd with Starling Dodd & Great Borne over to the right
The summit of Little Dodd
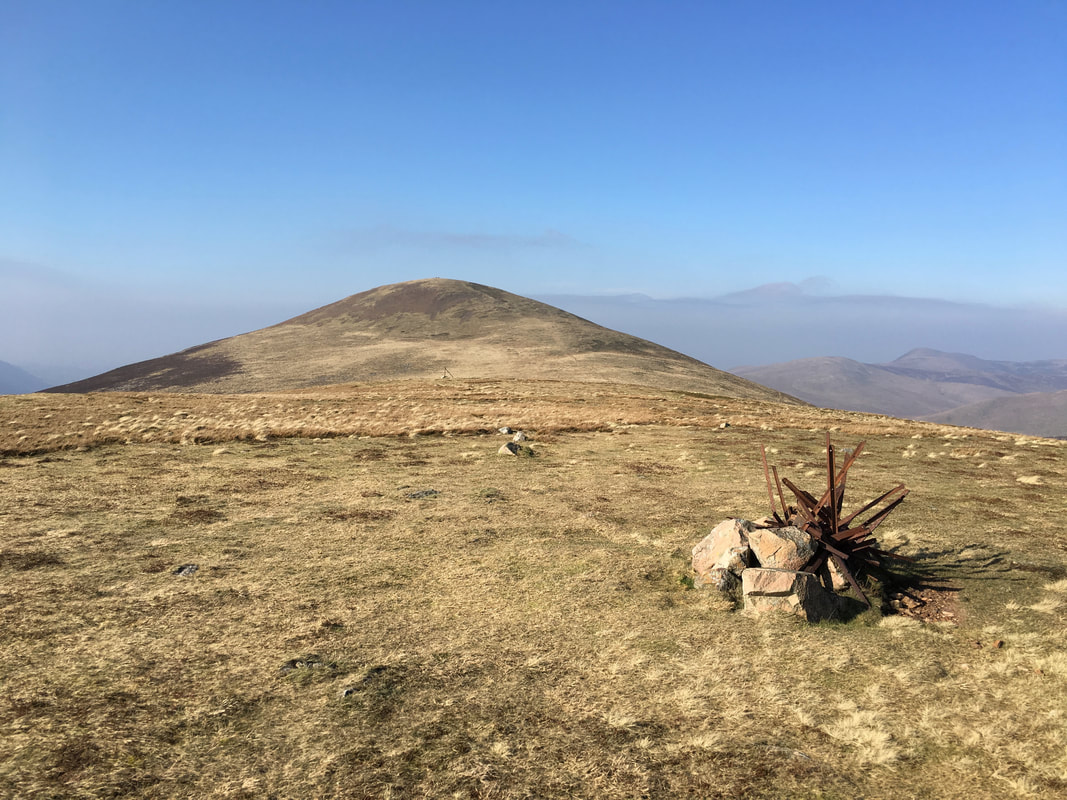
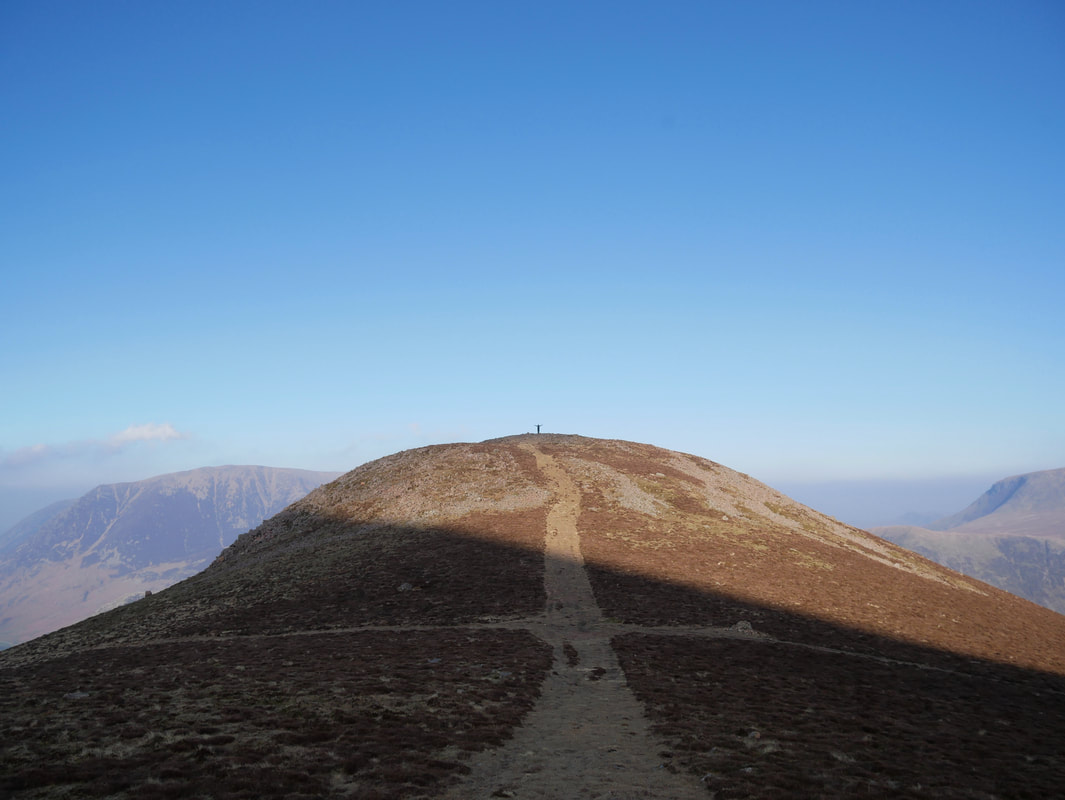
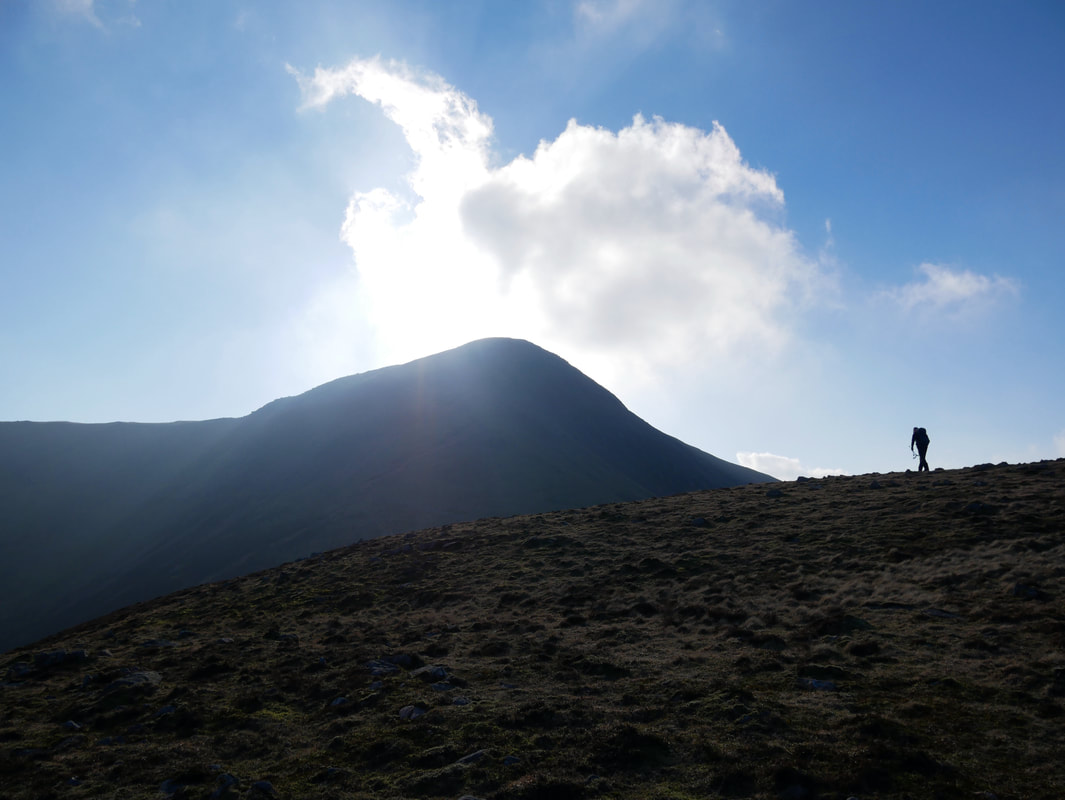
Looking back to Red Pike, High Stile & Little Dodd from the ascent of Starling Dodd
The familiar scrap metal summit of Starling Dodd looking to Great Borne
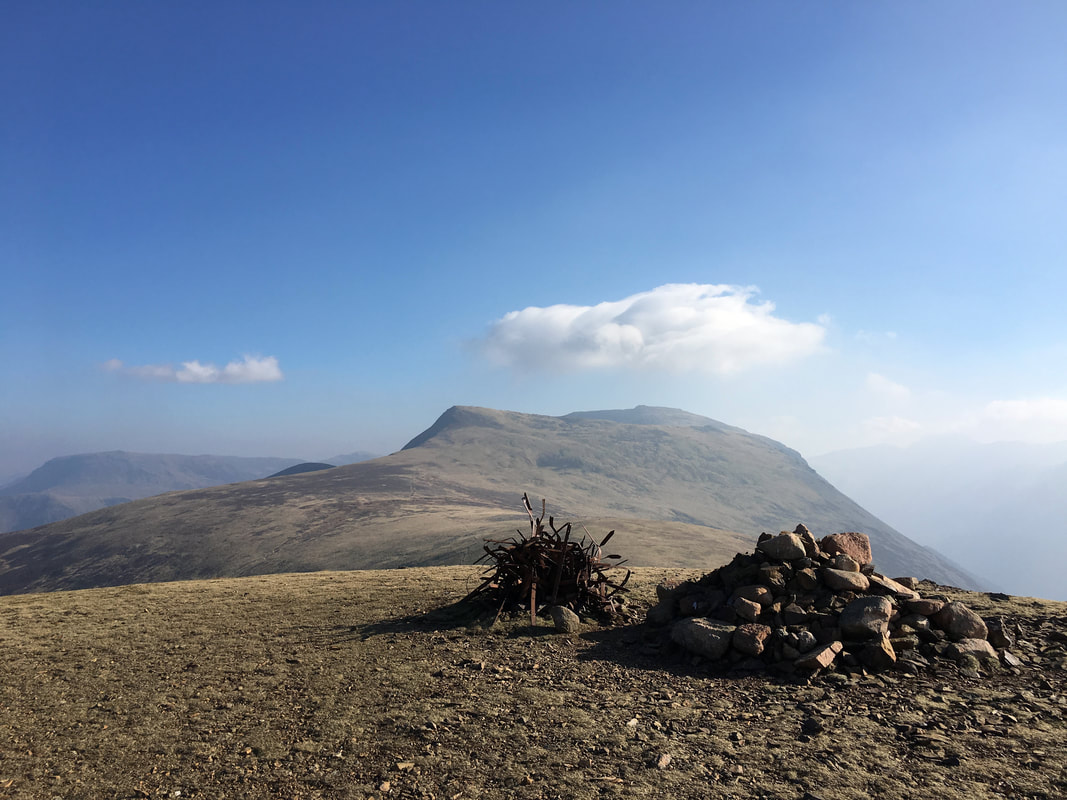
The summit of Starling Dodd looking to Red Pike & High Stile with Robinson far left
The route we took from above Scale Force to Starling Dodd was an out & back but we didn't mind that. We were now heading for Great Borne and whilst some people think that returning the same way is a waste of time, the views are obviously very different in both directions.
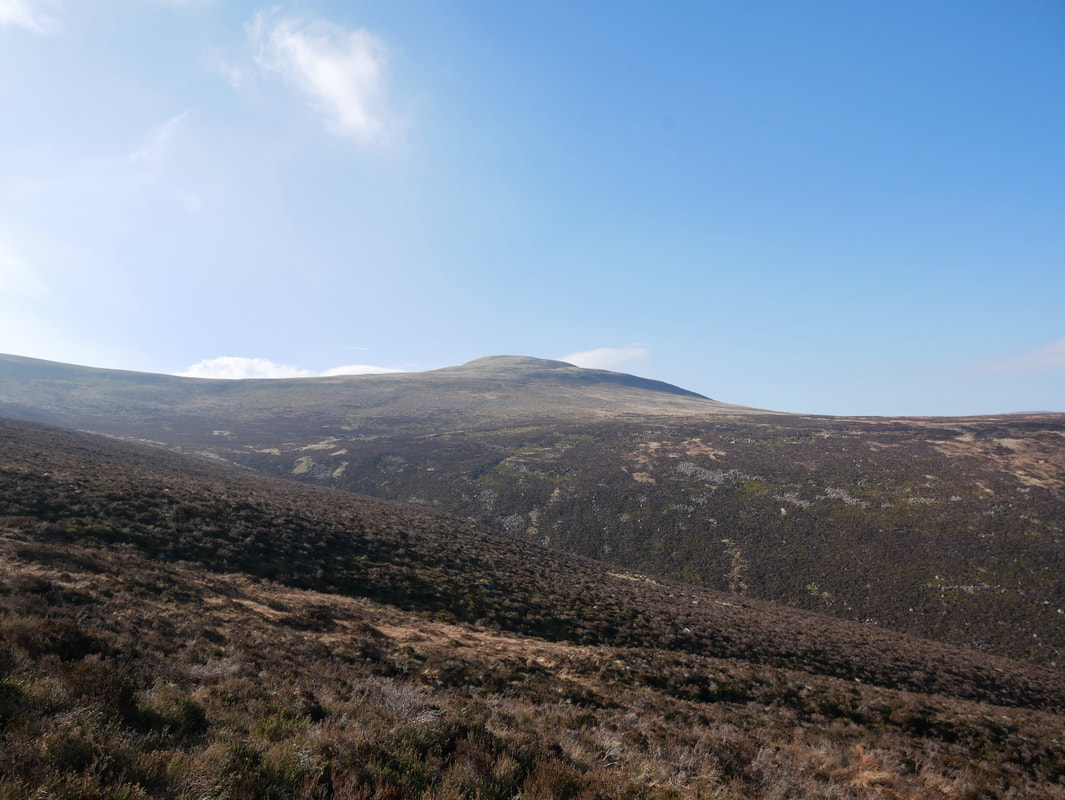
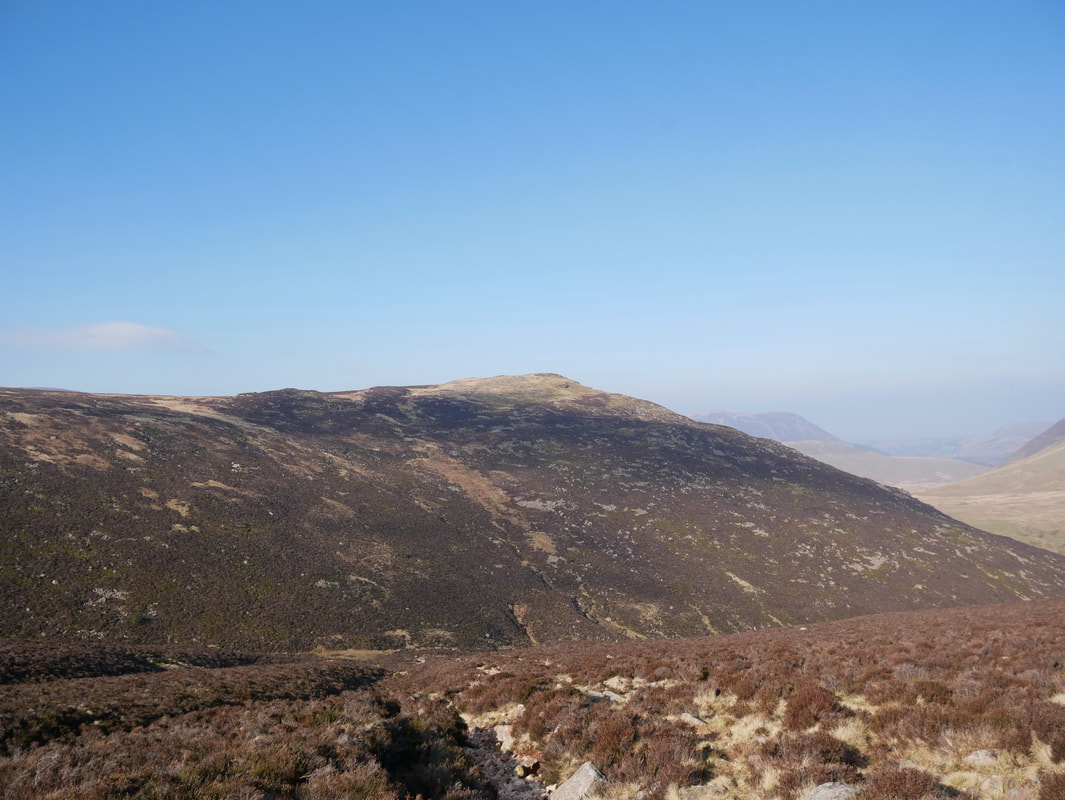
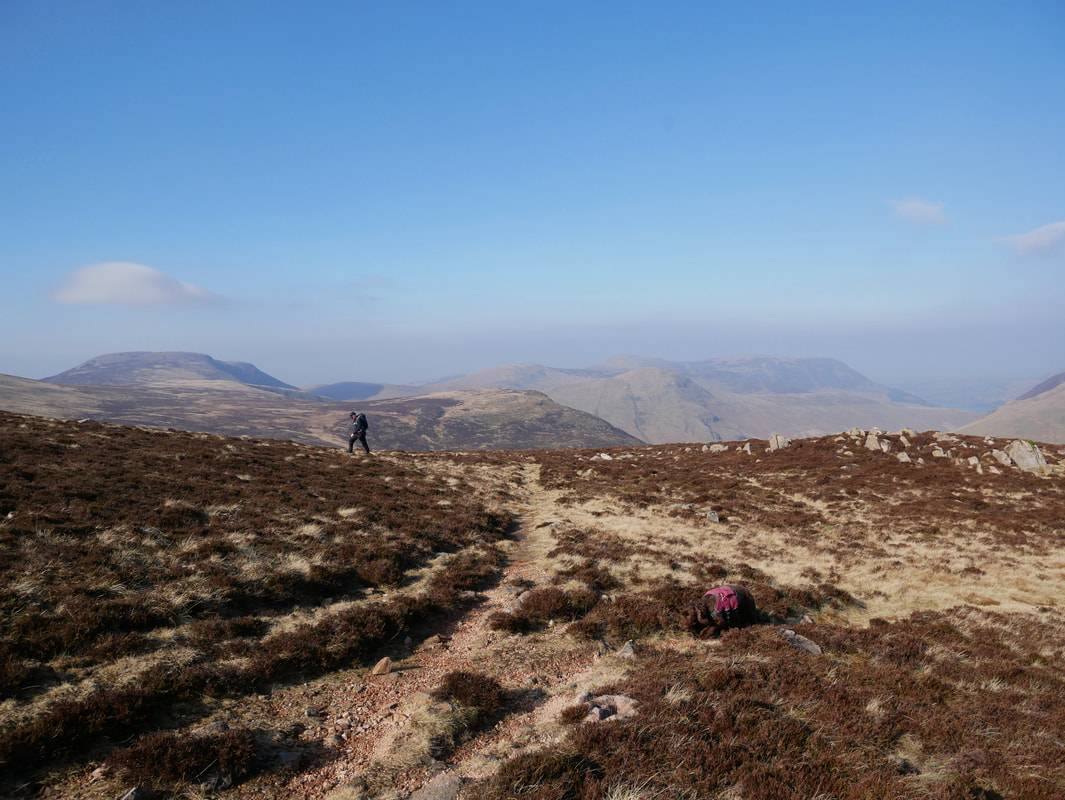
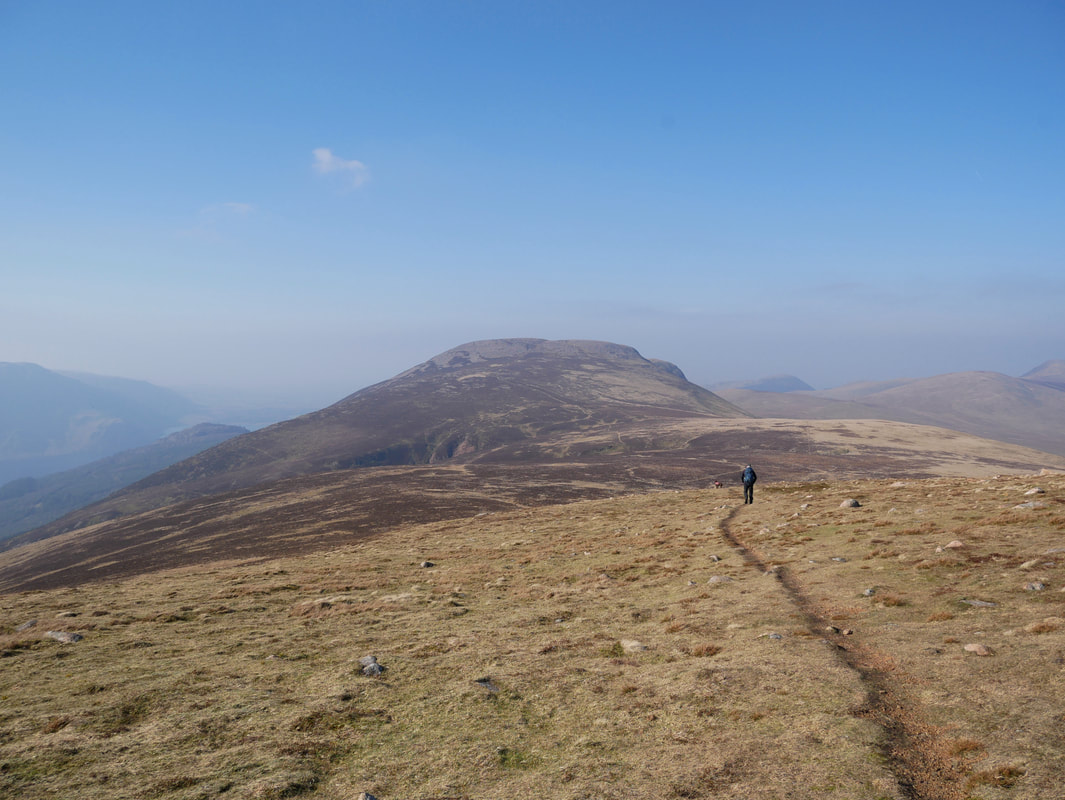
Looking back to Starling Dodd from the approach to Great Borne
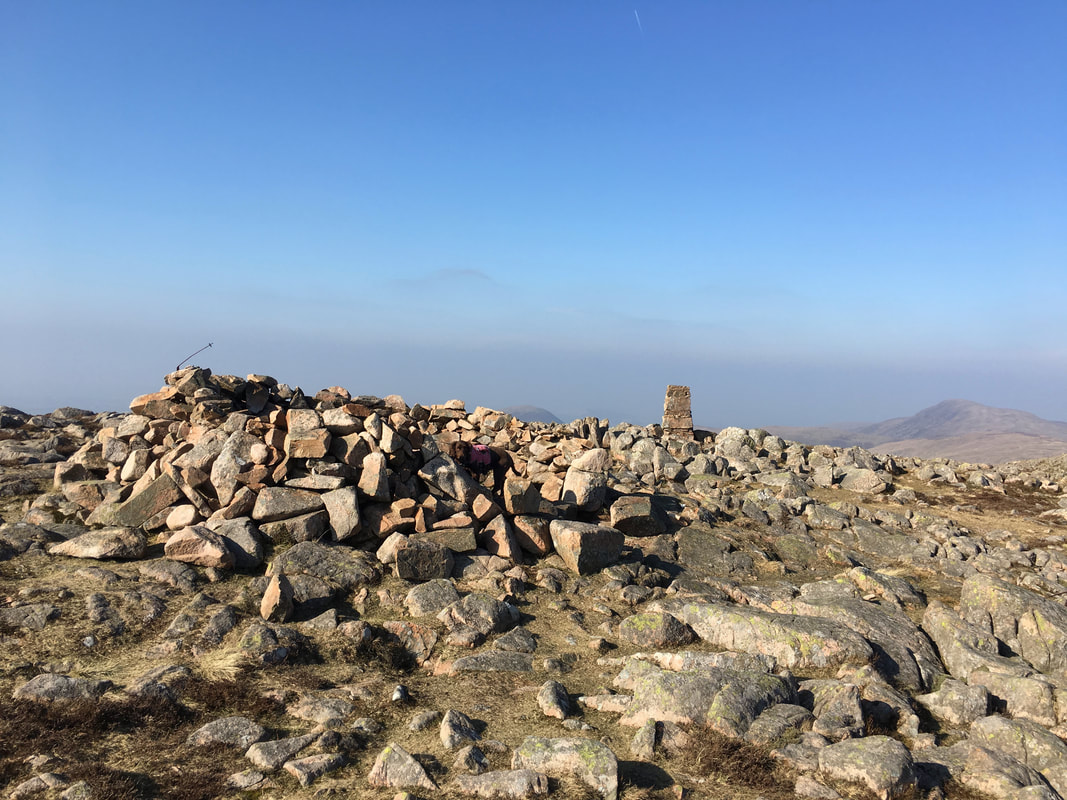
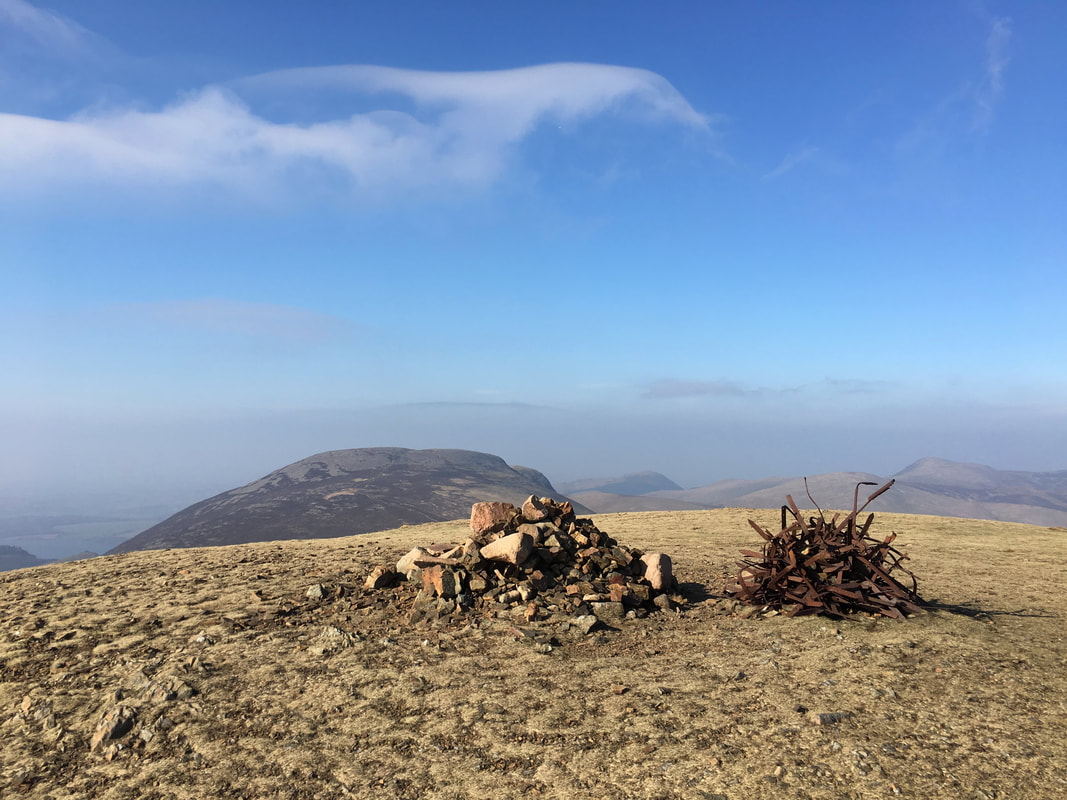
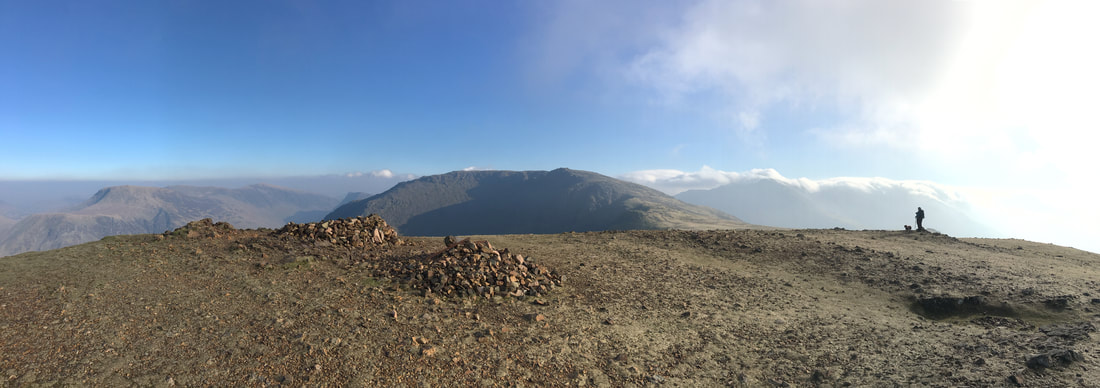
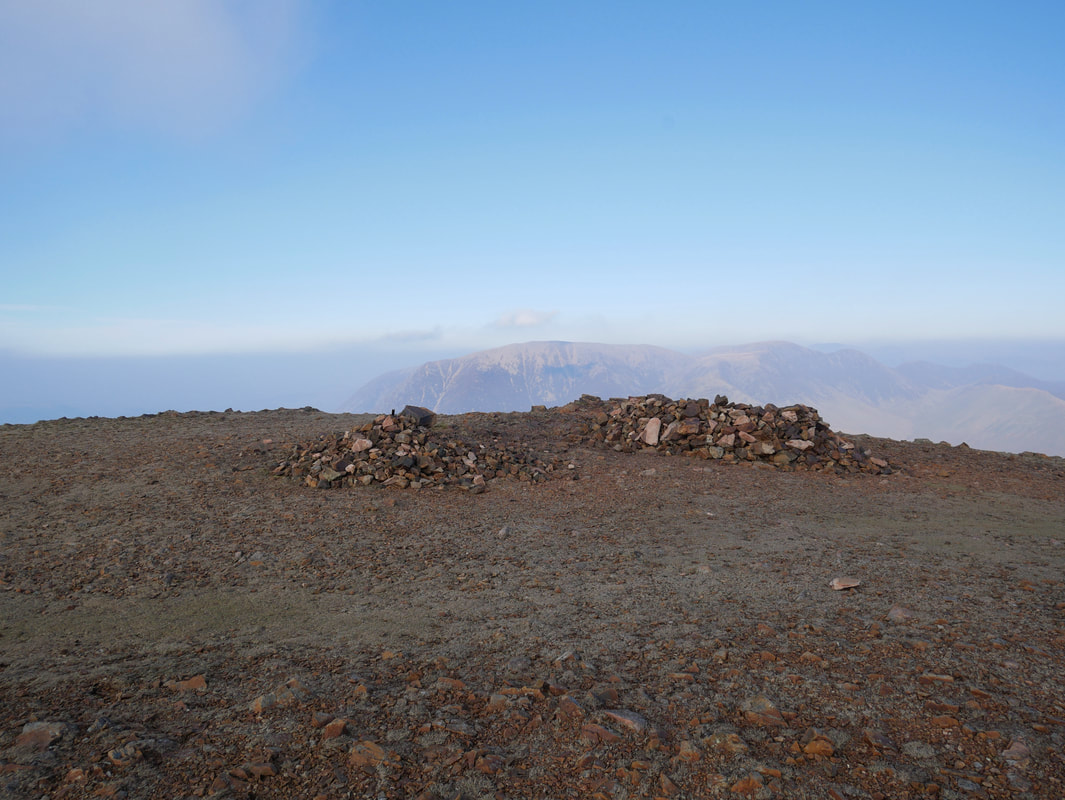
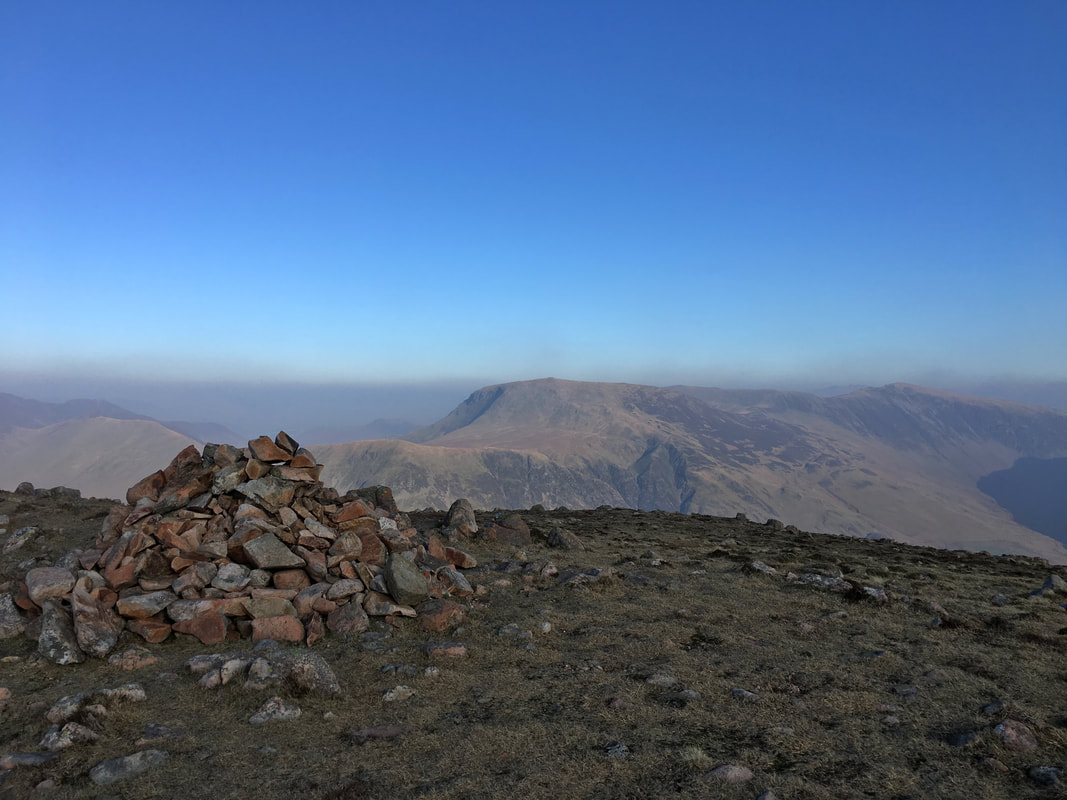
The wind shelter and Trig Point on the summit of Great Borne. If you wish to extend the route then it is worthwhile making the short walk over to Herdus which gives lovely views over Ennerdale Water.
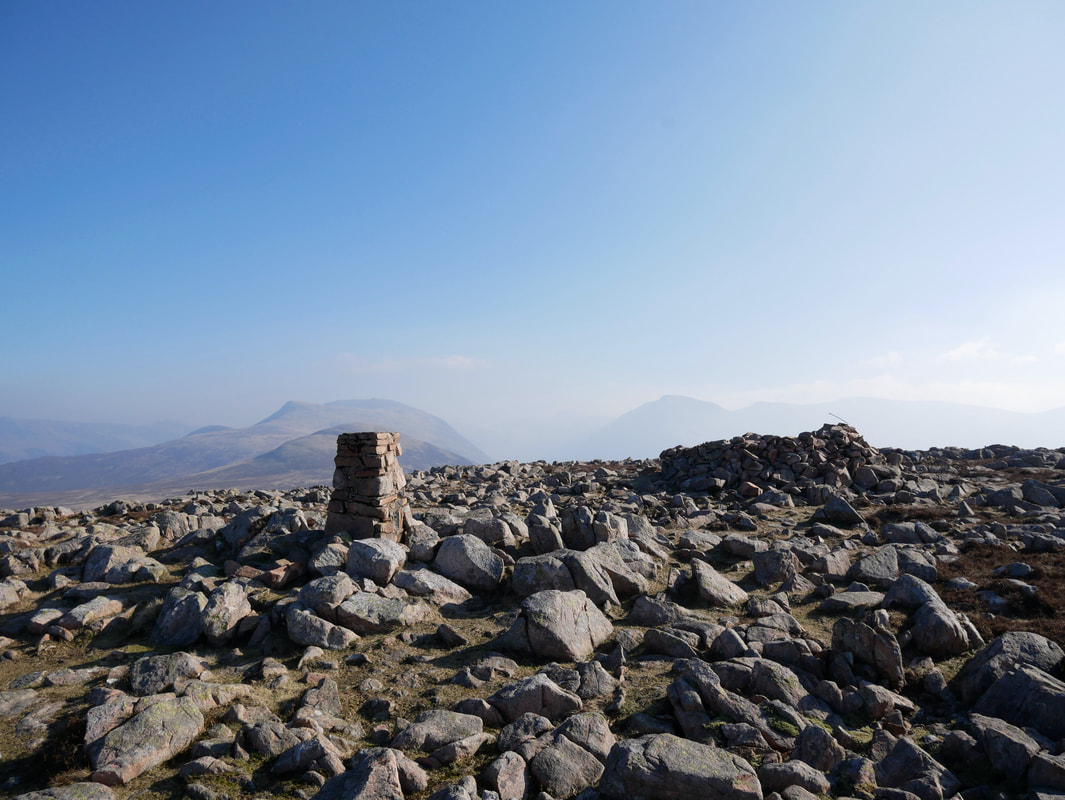
Another view of the wind shelter and Trig Point on Great Borne's summit
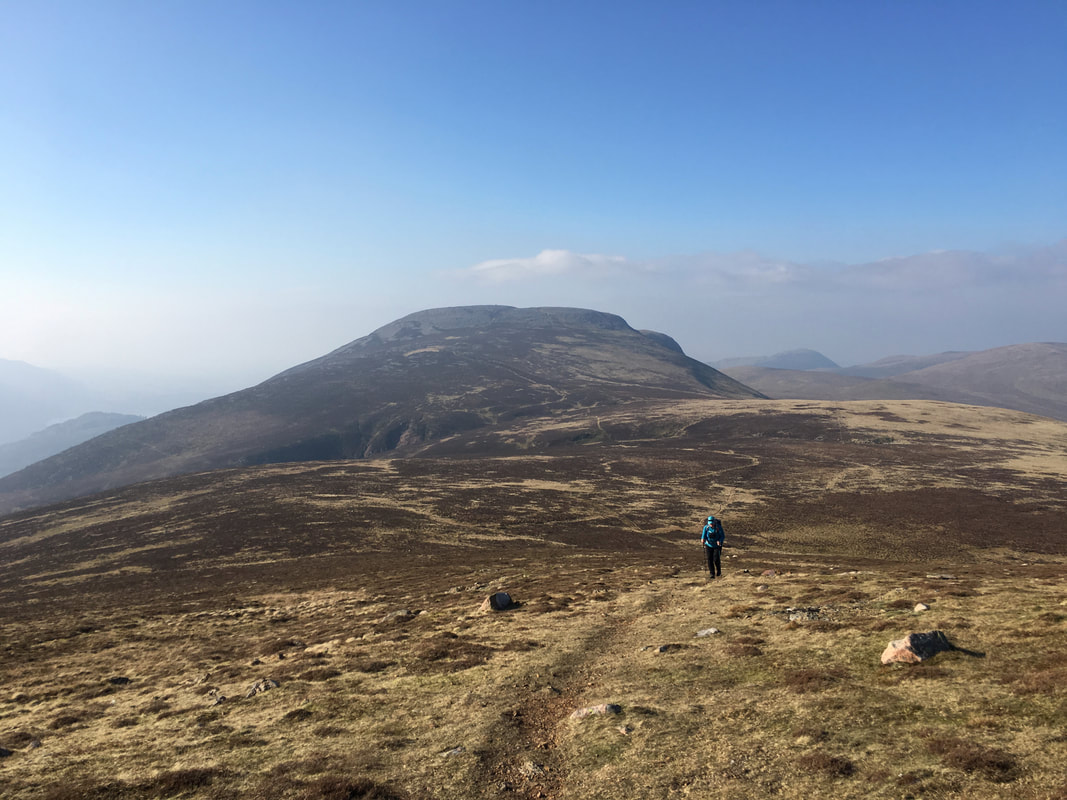
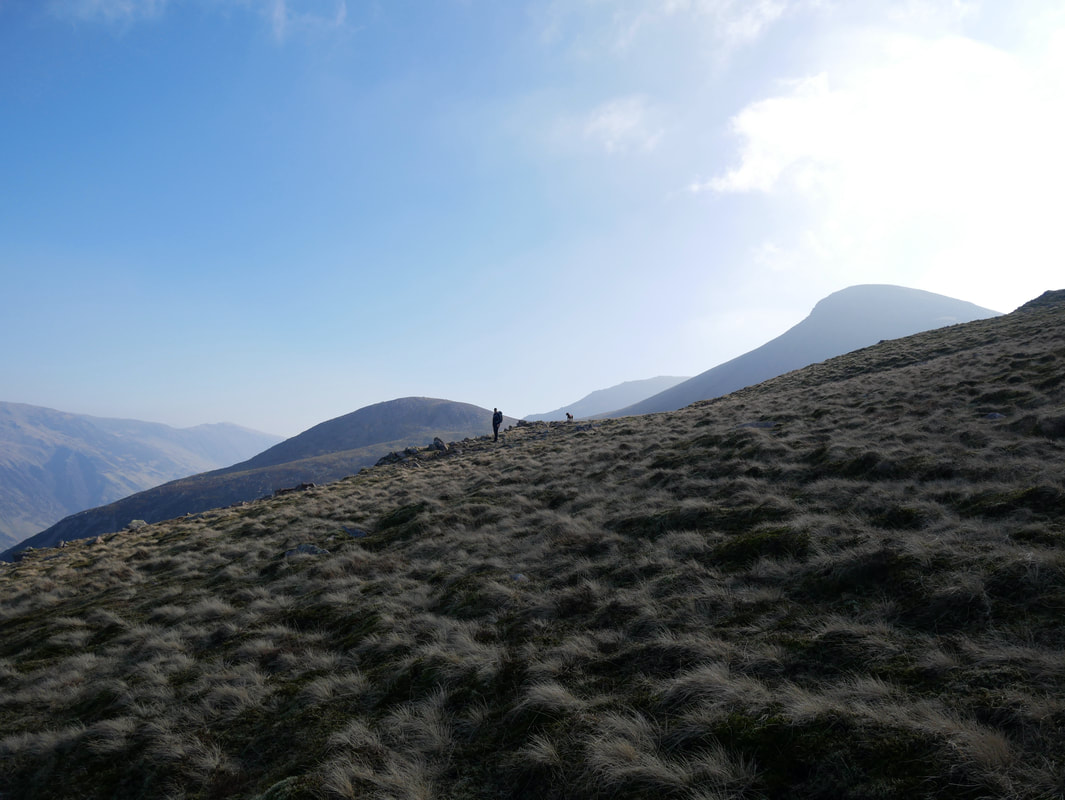
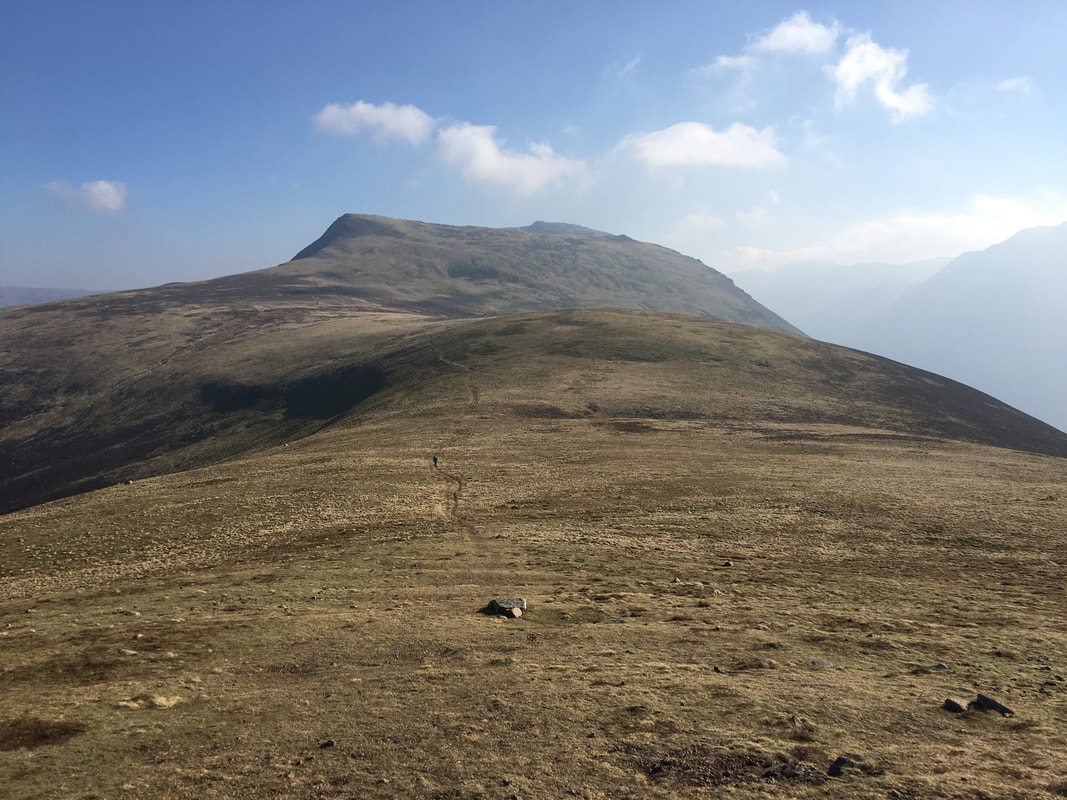
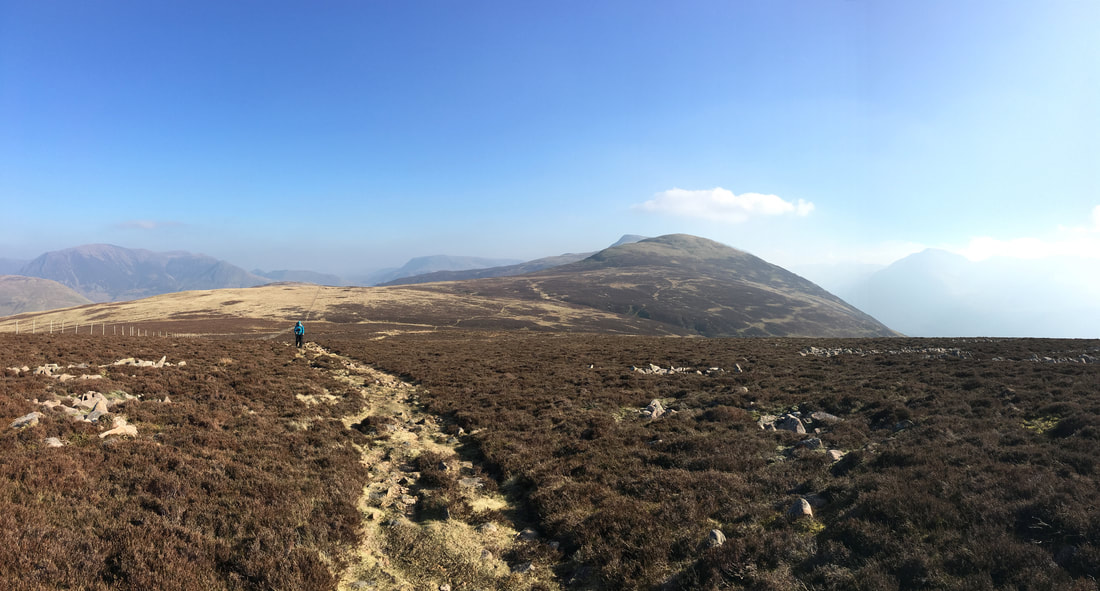
From Great Borne it was now time to retrace our steps over Starling Dodd & Little Dodd and head for Red Pike
The route over Little Dodd to Red Pike - nobody here and that is how it was all day

Looking back down to the head of Scale Force and our outward route - the path we used can be seen moving from centre to the right
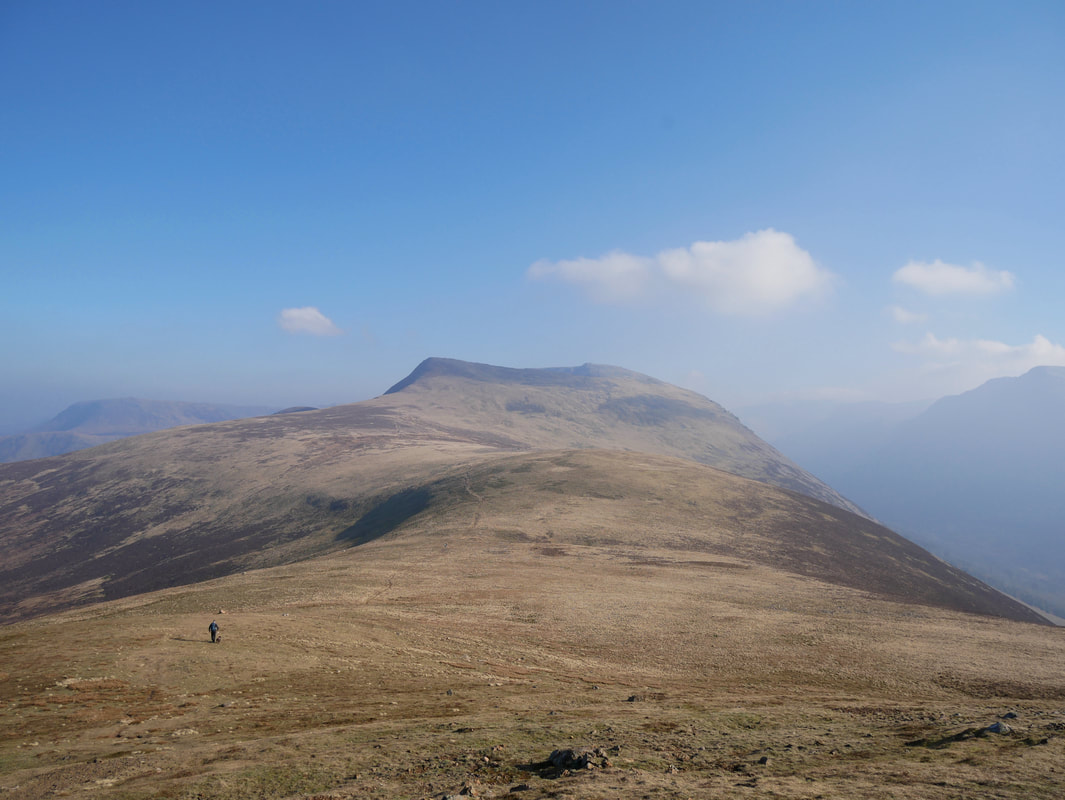
Looking down Lingcomb Edge from the approach to Red Pike
Up on Red Pike's summit with High Stile to the left
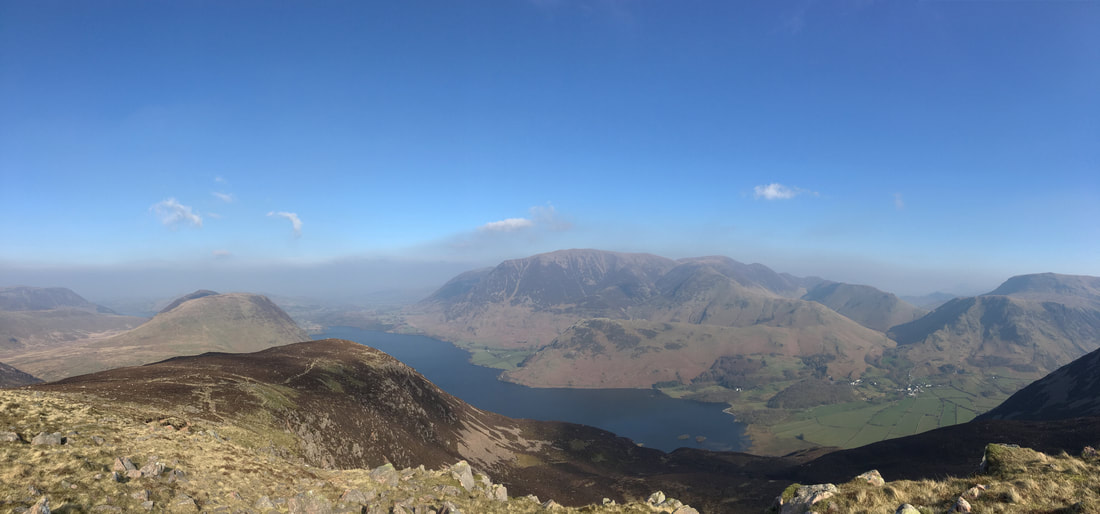
A glorious summit panorama on Red Pike
Another view of glorious High Stile from Red Pike - the fells to the left are High Snockrigg & Robinson with Buttermere below
The summit of Red Pike
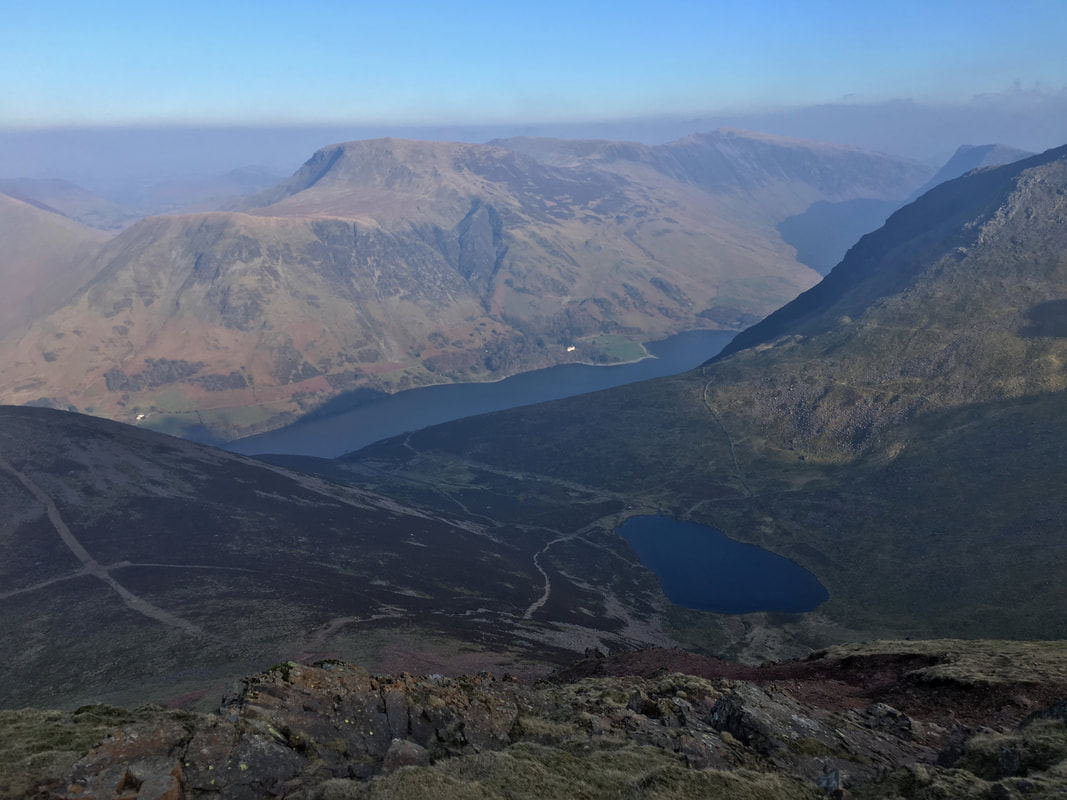
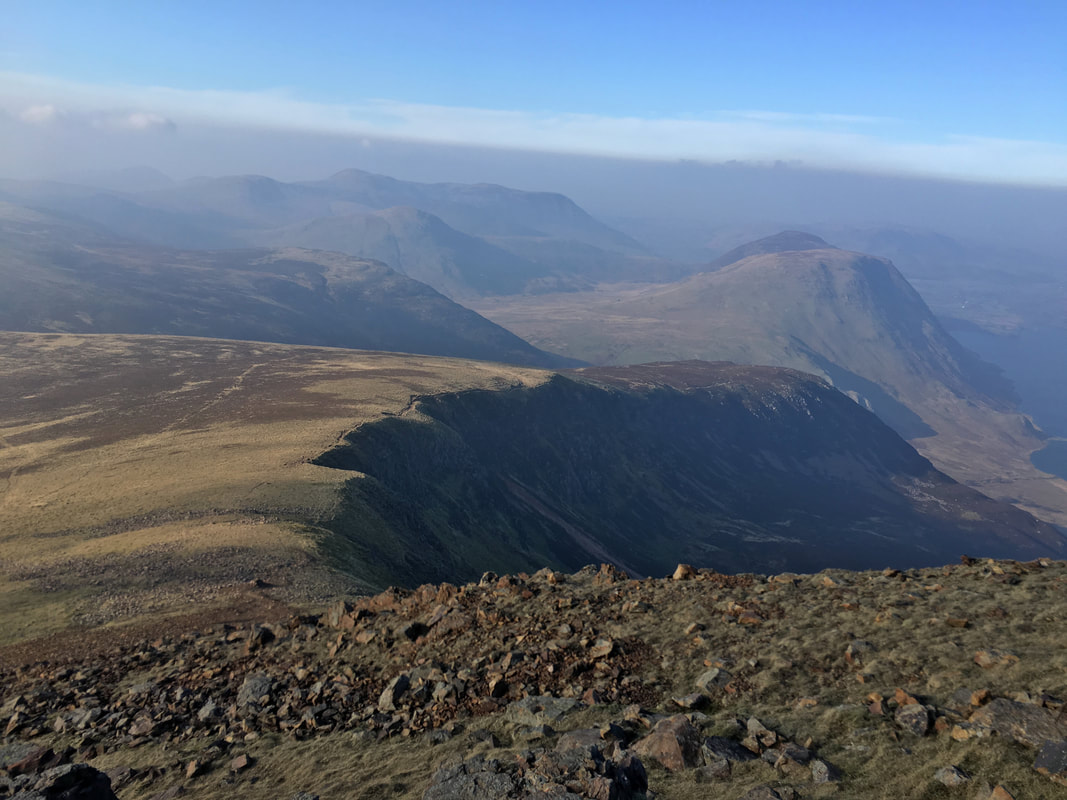
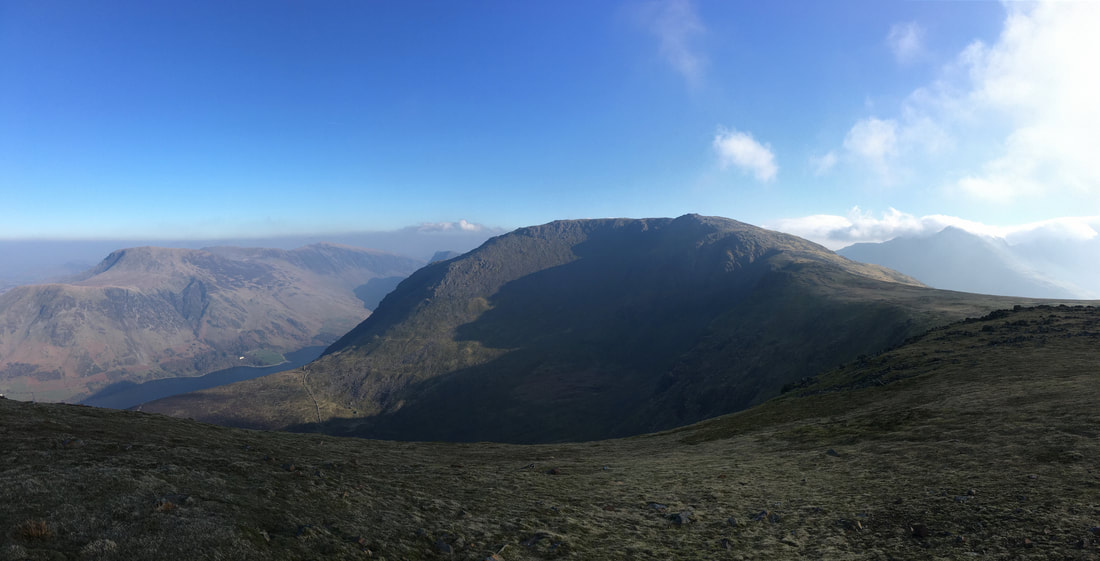
Descending Red Pike with Bleaberry Tarn sitting below. Much is made of the descent down to the crossroads at The Saddle which is to the left of shot. The path is extremely steep and is a mixture of scree and rough stone but providing you take your time and it is attempted in the right conditions then it is straightforward enough. At the crossroads the path to the right drops down to Bleaberry Tarn to then return to Buttermere via the treacherous & slippy path through Burtness Wood. We would be heading straight on at first to visit Dodd then return to the crossroads to then head left down through Ling Comb. The fells from left to right are High Snockrigg, Robinson, Hindscarth, Dale Head with Fleetwith Pike extreme right.
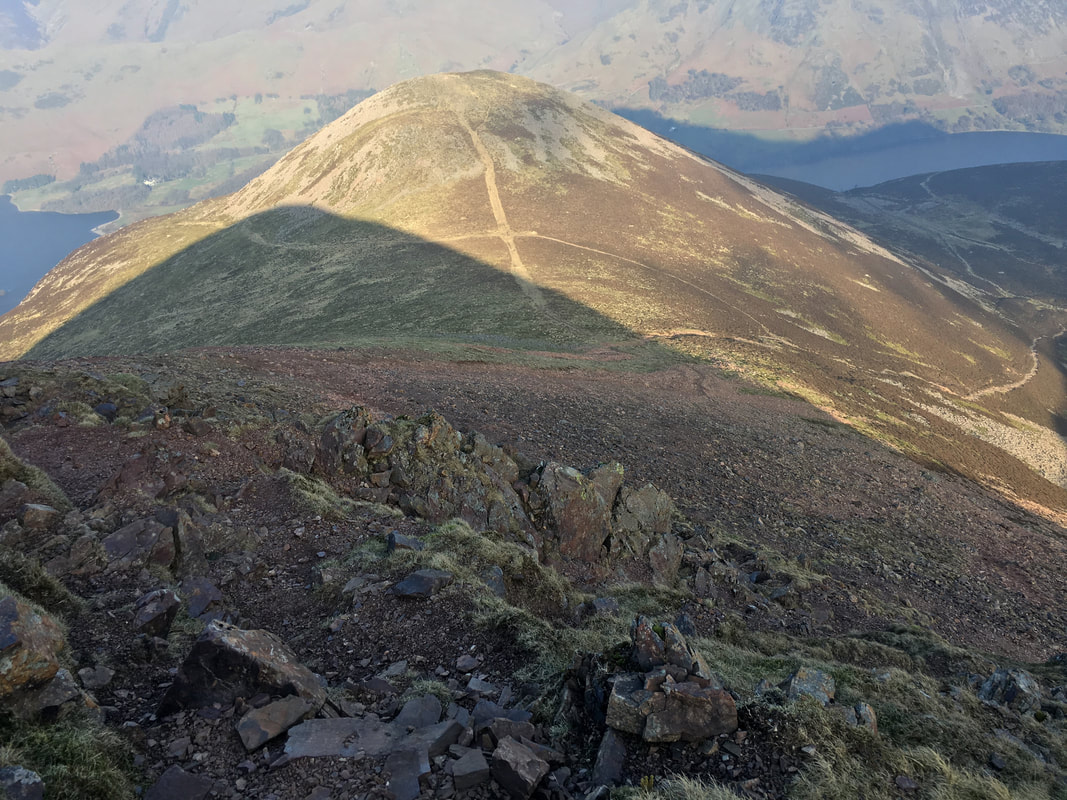
A little further down the descent to The Saddle with Dodd now fully visible. The route down is just a question of not rushing and simply taking your time. In ice and snow this descent would be a completely different prospect and is best avoided unless you have the right equipment and furthermore know how to use it.
Continuing our descent and looking over to Chapel Crags & High Stile
Another view of the descent from Red Pike - Fudge of course with his 4 paw drive had no problems and wonders what all the fuss is about.
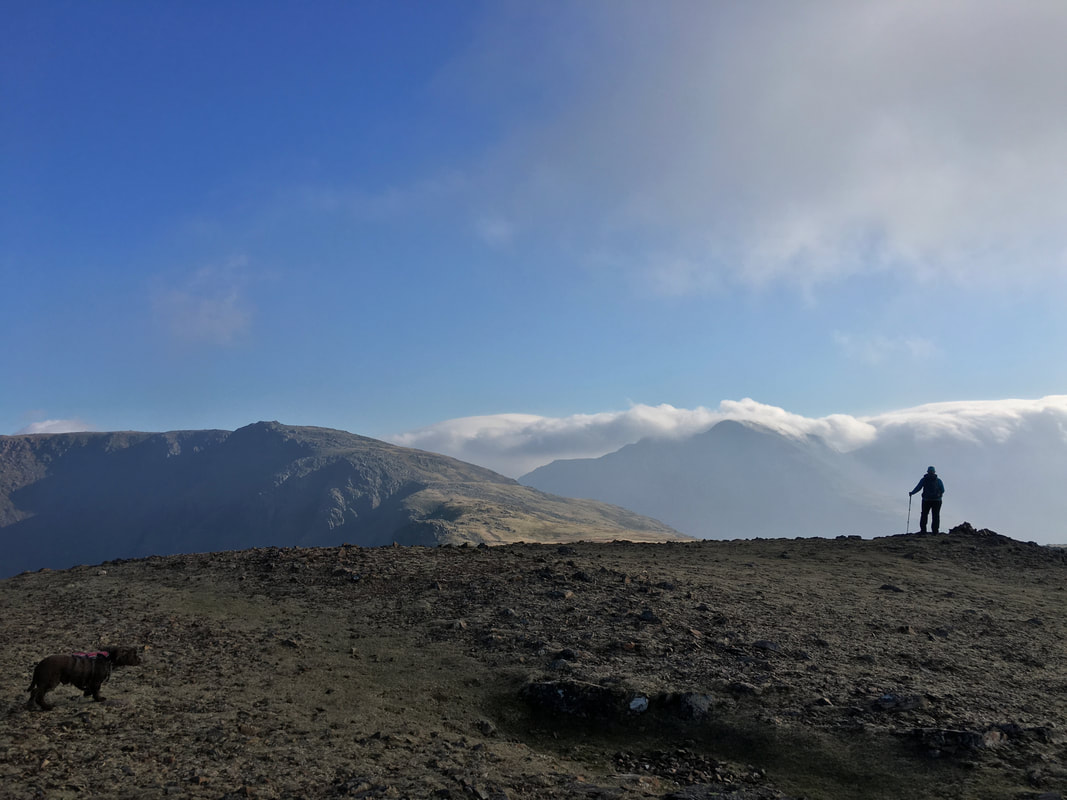
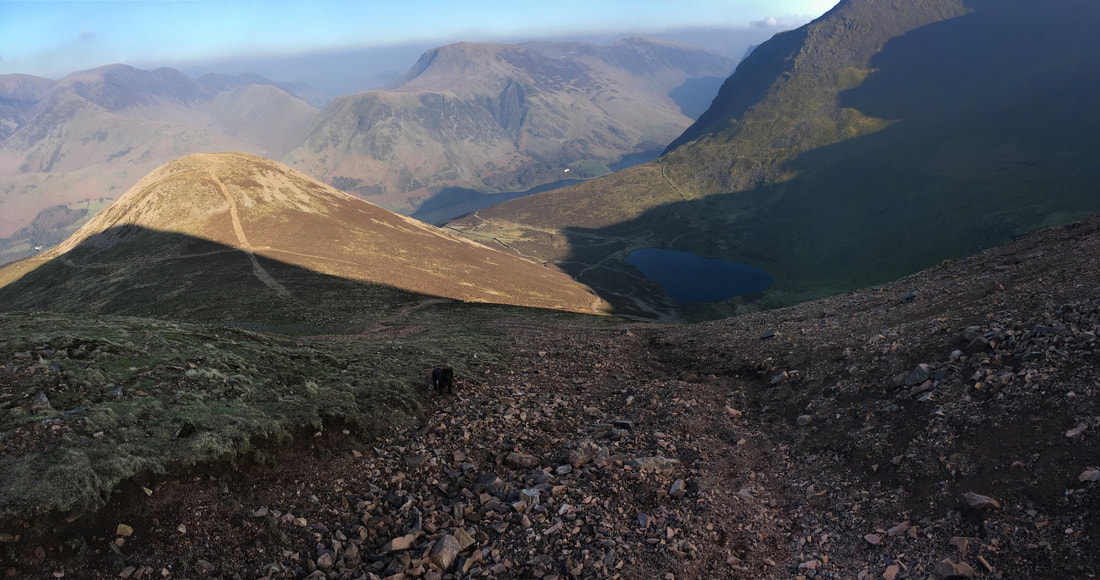
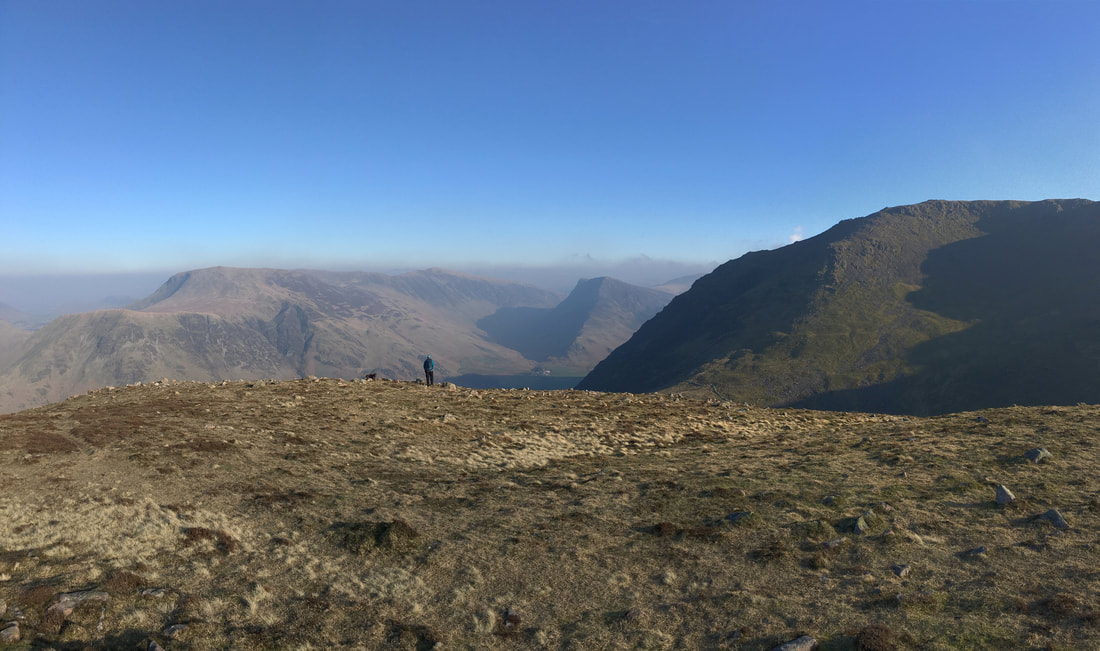
The Saddle with Angie & Fudge up ahead on Dodd's summit
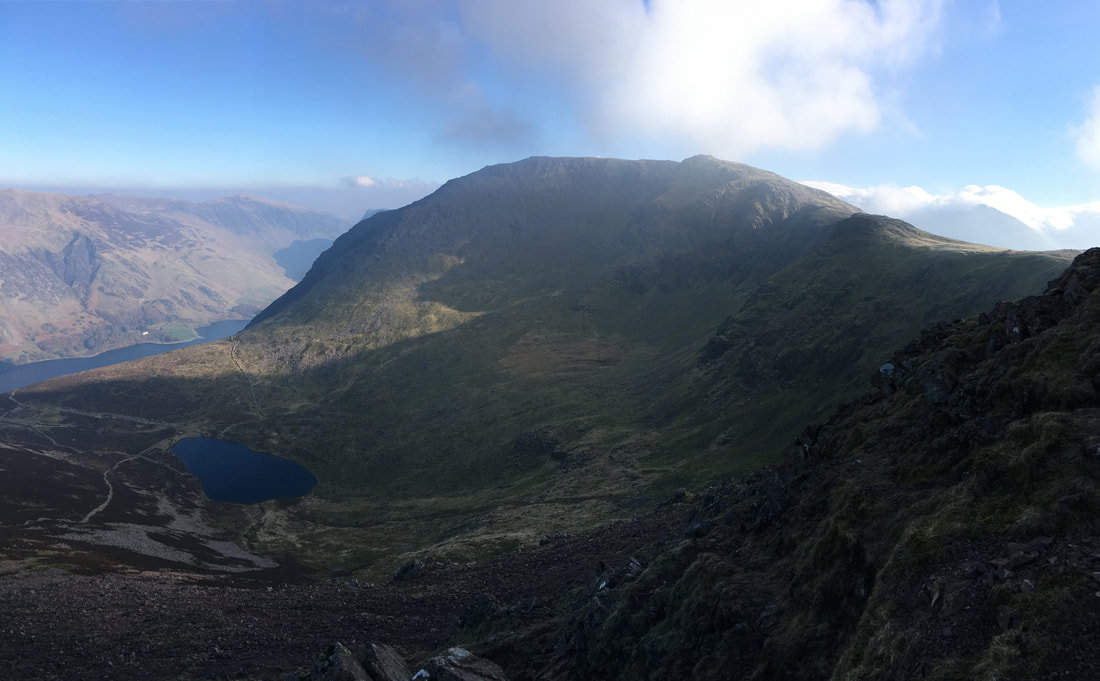
Looking into Ling Comb from the approach to the summit of Dodd with Lingcomb Edge to the left
The summit of Dodd looking to Robinson
I get the impression that people tend to give Dodd a miss when descending via The Saddle and head straight down to Bleaberry Tarn. This lovely fell is certainly worth a visit.
Heading back to the crossroads at The Saddle with Red Pike in silhouette
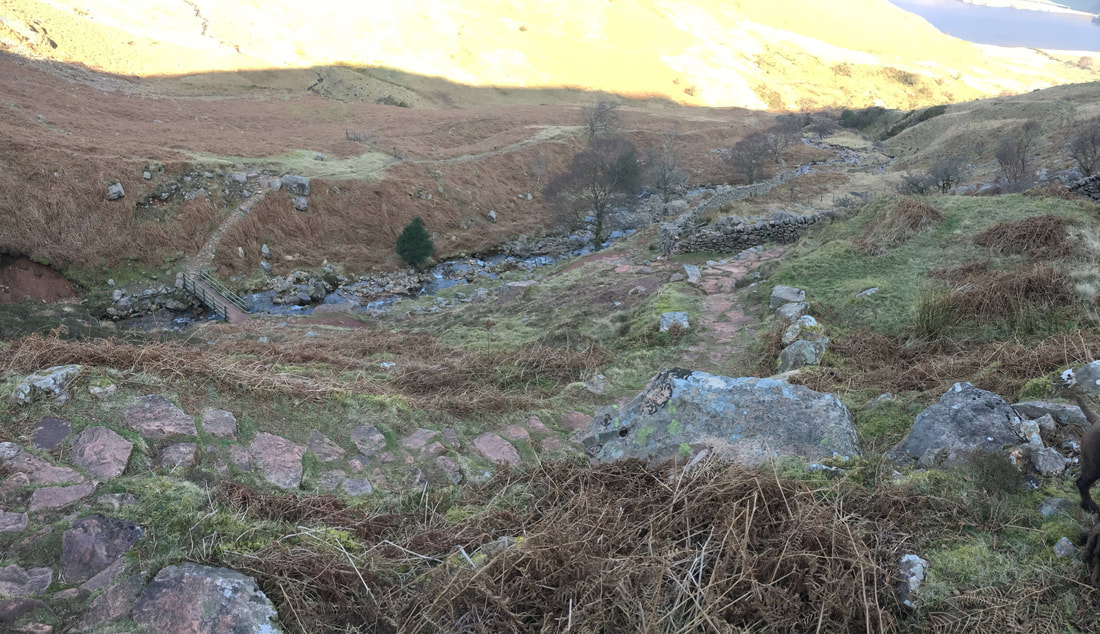
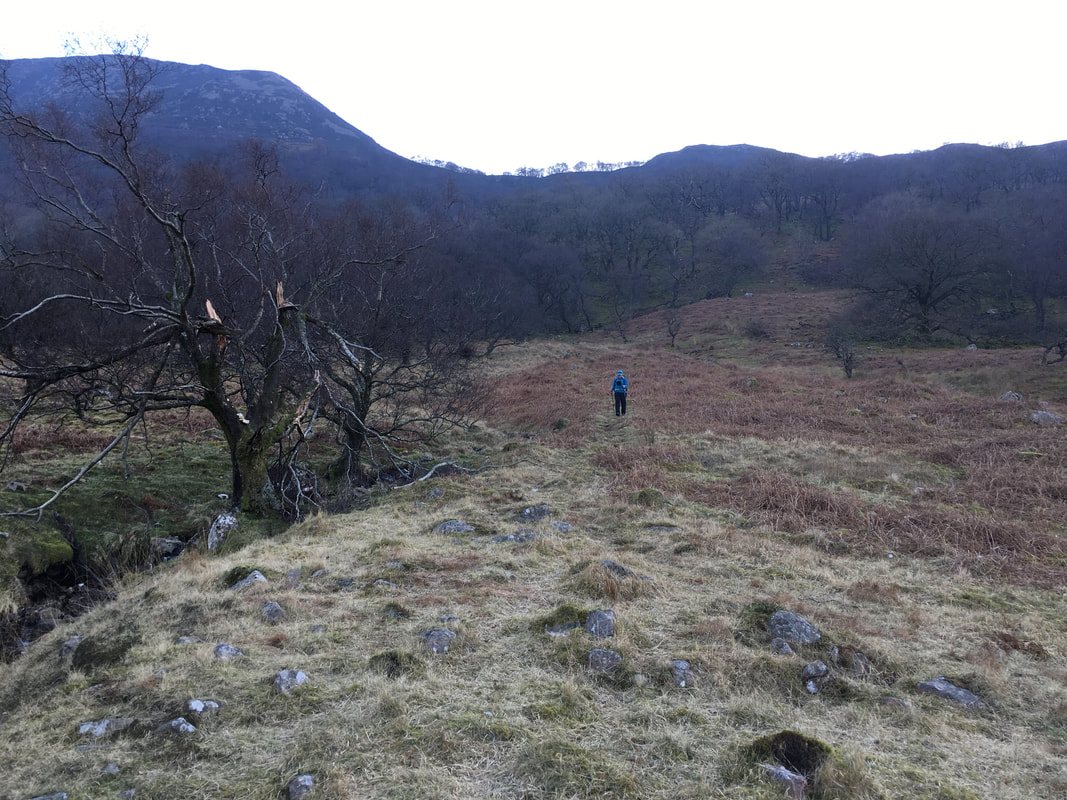
Heading down the Ling Comb descent back to Buttermere
The final part of the path down through Ling Comb with a view over Crummock Water to Grasmoor, Rannerdale Knotts & Whiteless Pike
Reaching the footbridge it was a simple return to Buttermere by way of our outward route